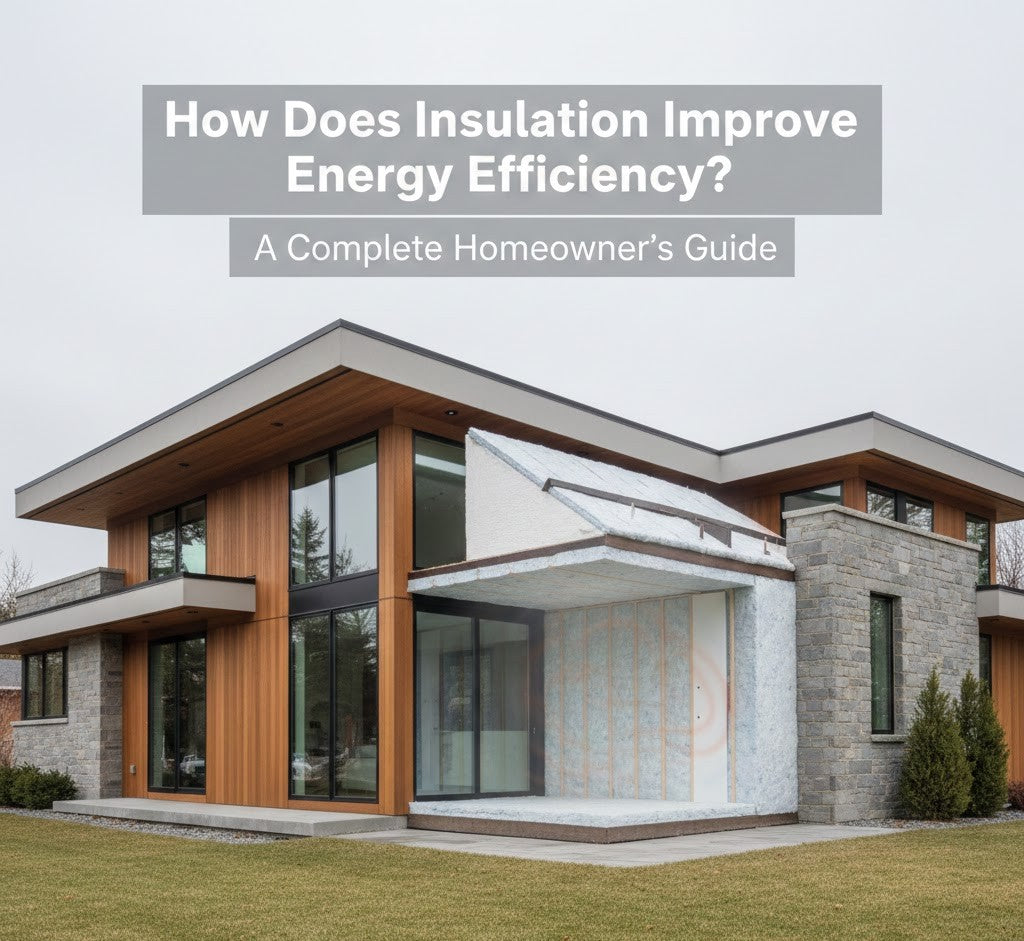
Keeping your home comfortable without overspending on energy bills is a challenge for many homeowners. Heating and cooling costs often take the biggest bite out of monthly expenses especially in homes with air leaks, thin insulation, or older building materials. If you’ve been asking how does insulation improve energy efficiency, this guide will give you a clear, practical answer and show you where the biggest savings come from.
Insulation works quietly in the background, but its impact is easy to feel: fewer drafts, steadier room temperatures, less strain on HVAC equipment, and lower utility bills. Whether you’re a DIY homeowner, a budget-conscious buyer, or a handyman handling light commercial projects, improving insulation is one of the most reliable ways to reduce energy waste.
What Is Energy Efficiency and Why Insulation Matters
Energy efficiency means using less energy to achieve the same level of comfort. In homes, that means maintaining stable indoor temperatures without constantly running heating or cooling systems.
Insulation matters because it directly controls how heat moves through your home’s structure. Without adequate insulation, warm air escapes in winter and heat enters in summer, forcing HVAC systems to work harder. Materials such as high-density spray foam are designed to reduce both heat transfer and air leakage, which significantly improves overall efficiency.
Why insulation is essential for energy efficiency:
- Reduces heat loss through walls and ceilings
- Limits air leakage and drafts
- Helps HVAC systems operate more efficiently
- Improves indoor comfort year-round
A home with proper insulation requires less energy to stay comfortable, which is the foundation of true energy efficiency.
How Does Insulation Improve Energy Efficiency in Homes?
So, how does insulation improve energy efficiency in simple terms? It adds resistance to heat movement so your home can maintain comfortable indoor temperatures with less heating and cooling.
When insulation is correctly installed, it:
- Keeps heated air inside during winter
- Reduces heat intrusion during summer
- Limits temperature swings between rooms and floors
- Helps HVAC systems run more efficiently with shorter runtimes
What homeowners usually notice first
- More consistent temperatures
- Less “cold floor” feeling in winter
- Fewer drafts near exterior walls
- Reduced AC run time during hot afternoons
Insulation is also a “multiplier.” If you upgrade HVAC equipment without fixing insulation gaps, you’re still paying to condition air that leaks out. If you improve insulation first, even existing HVAC systems can perform better.
How Home Insulation Raises Energy Efficiency and Lowers Utility Bills
Insulation lowers utility bills by reducing the amount of energy your home needs to stay comfortable. Instead of constantly replacing lost warm air or fighting incoming heat, your home holds onto conditioned air longer.
How insulation cuts monthly costs
- Less heat loss through ceilings and exterior walls
- Reduced cooling demand in summer
- Lower HVAC runtime and fewer cycles
- Less wear on heating/cooling equipment over time
A well-insulated home often experiences meaningful savings in both cold and hot seasons. While results vary by climate and home condition, improving insulation is one of the clearest paths to long-term efficiency gains for budget-conscious homeowners.
How Insulation Works: Heat Transfer Made Simple

To really understand energy efficiency, it helps to know the three ways heat moves.
Conduction
Conduction is heat moving through solid materials like drywall, framing, and masonry. Insulation slows conduction by using tiny air pockets or foam structure to resist heat flow.
Convection
Convection is heat moving through air currents. Drafts and uncontrolled airflow in wall cavities, attics, and basements increase energy loss. Insulation reduces convection by limiting air movement where it shouldn’t be.
Radiation
Radiation transfers heat through waves like the sun heating a roof. Some insulation systems reduce radiant heat transfer, especially when paired with good attic design and ventilation.
R-value (the performance number)
R-value measures resistance to heat flow. Higher R-values generally mean better insulation performance, but real-world results also depend on air sealing, moisture management, and correct installation. Even high R-value insulation can underperform if it’s compressed, poorly fitted, or installed with gaps.
Key Areas Where Homes Lose Energy Without Proper Insulation

Homes tend to lose energy in predictable areas:
|
Home Area |
Estimated Heat Loss |
|
Attic & Roof |
25–30% |
|
Exterior Walls |
20–25% |
|
Floors & Crawlspaces |
10–15% |
|
Ducts & Gaps |
10–15% |
Improving insulation in these areas often delivers the fastest energy efficiency gains.
How Do I Know My Insulation Needs Replacing?
Insulation doesn’t always “expire,” but it can lose effectiveness due to moisture, settling, compression, pests, or installation issues. You can tell insulation needs replacing if comfort is inconsistent and the home feels harder to heat or cool than it used to.
Signs your insulation may need replacement
- Utility bills rising without changes in usage
- Noticeable drafts near walls, floors, or outlets
- Uneven temperatures between rooms or floors
- Insulation that looks wet, flattened, or moldy
- Musty smells, condensation issues, or recurring moisture
- Pest evidence in attics or crawlspaces
- Very old insulation (often 15–20+ years) with poor coverage
Quick DIY checks
- Look in the attic: uneven coverage, dark streaks (air movement), or compressed material
- Feel exterior walls: cold spots in winter or heat radiating in summer
- Note comfort patterns: rooms that never feel “right” often indicate insulation gaps
Replacing or upgrading insulation is especially valuable if you’re also improving windows, HVAC, or sealing air leaks because the improvements work together.
How Do I Insulate My House?

You can insulate your house successfully by planning the project around your home’s biggest energy-loss zones and selecting materials that match your skill level and budget.
Step-by-step insulation approach
- Inspect current insulation (attic depth, wall condition, crawlspace coverage)
- Find air leaks first (gaps around attic penetrations, rim joists, duct chases)
- Seal gaps before insulating to prevent airflow through or around insulation
- Choose insulation type based on location and desired performance
- Install to recommended levels (avoid gaps, compression, and misalignment)
- Confirm ventilation & moisture control (especially in attics and crawlspaces)
DIY homeowners can often handle attic upgrades safely with careful prep and proper materials. If you’re new to spray foam projects, grounding yourself in DIY insulation basics can prevent costly mistakes.
Types of Insulation and Their Energy Efficiency Benefits
Different insulation materials support energy efficiency in different ways. The best choice depends on application, moisture risk, desired air sealing, and budget.
Fiberglass
Fiberglass is common because it’s affordable and widely available. It performs best when installed without gaps and protected from airflow and moisture.
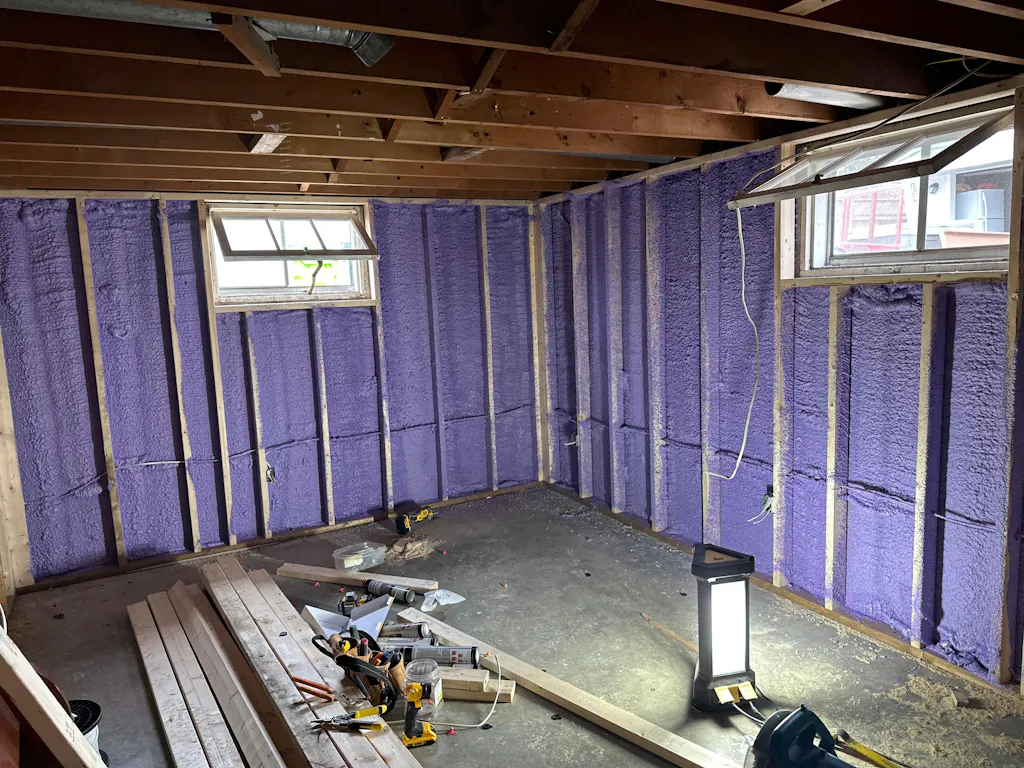
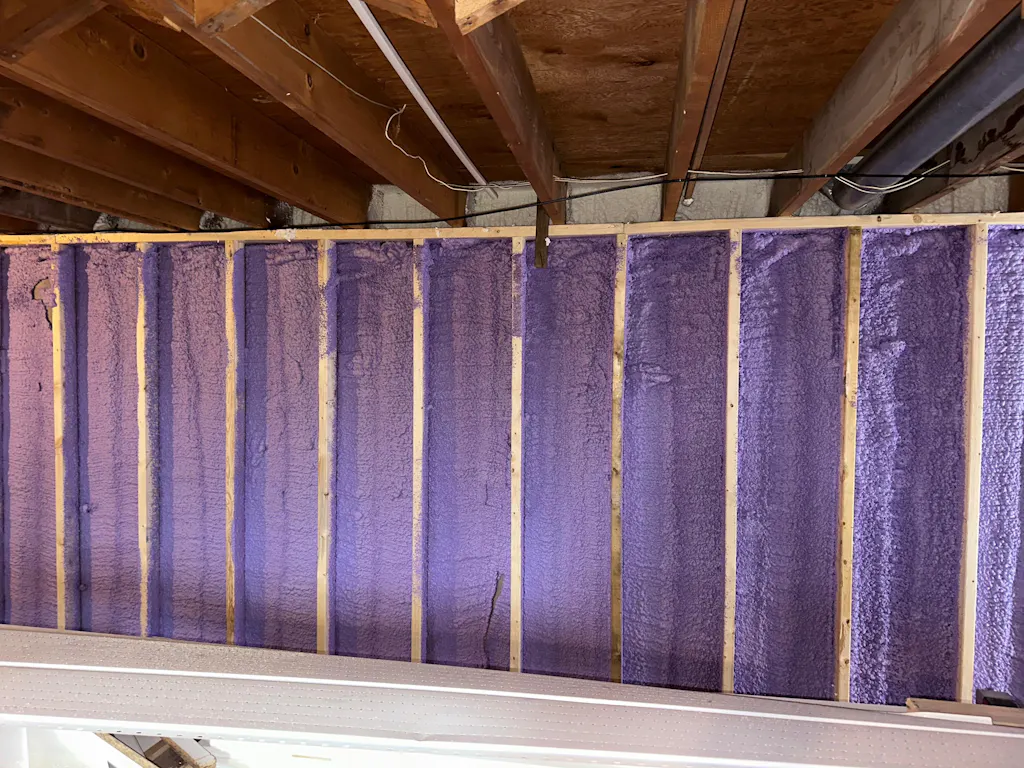
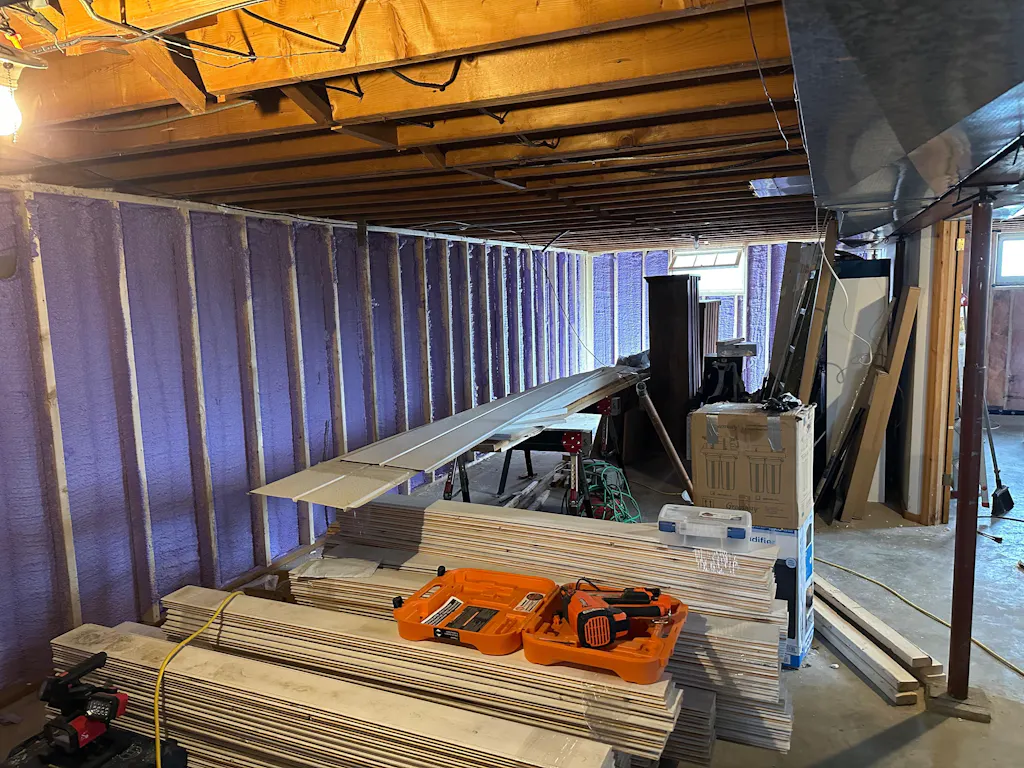
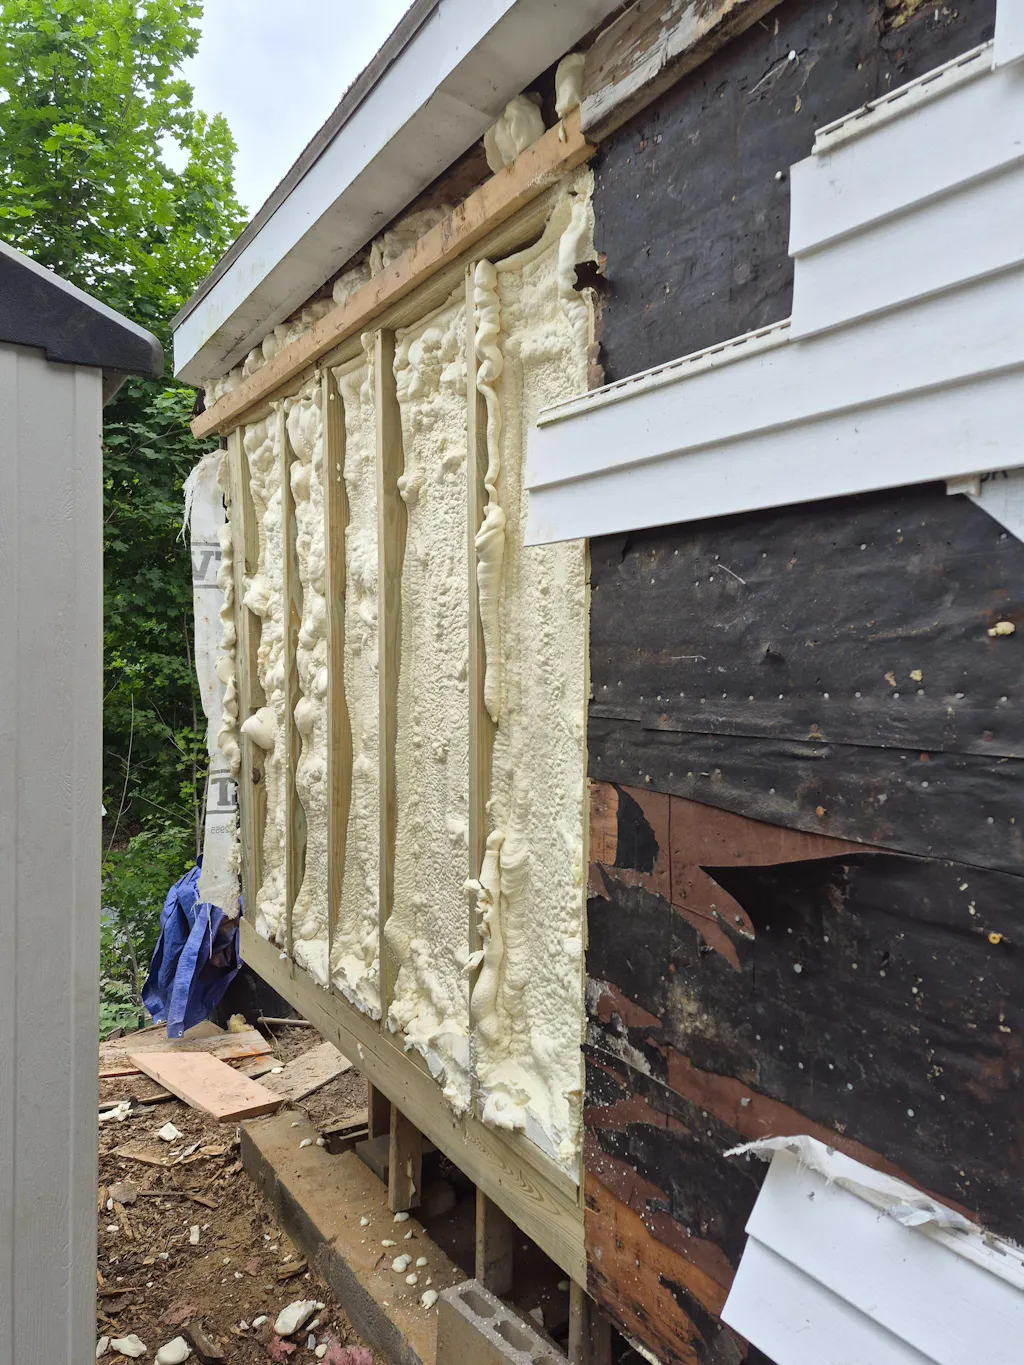
Spray Foam
Spray foam is known for strong air sealing and high performance when installed correctly. Many homeowners choose high-density spray foam for areas where moisture resistance, structural rigidity, and maximum thermal performance matter.
For interior applications where flexibility and sound dampening can be useful, lightweight foam insulation is often considered.
Mineral Wool
Mineral wool offers strong thermal performance, excellent fire resistance, and good moisture tolerance. It’s a practical option for walls and areas where durability matters.
Rigid Foam Boards
Rigid foam boards work well on foundations, basements, and exterior assemblies. They can reduce thermal bridging and add moisture resistance in the right application.
DIY vs Professional Insulation: What’s Right for You?
DIY insulation can save money, but professional installation often delivers better performance especially when air sealing, moisture risk, or complex assemblies are involved.
DIY can make sense when:
- You’re insulating an accessible attic
- You’re adding insulation to a garage or workshop
- You have basic tools and can follow safe installation practices
- Your goal is a targeted efficiency improvement on a budget
Professional work is often better when:
- You need wall-cavity insulation without opening walls
- You’re using spray foam for large areas or sensitive zones
- Moisture control and ventilation design are involved
- You want maximum long-term efficiency and fewer installation risks
If you’re doing a spray foam project yourself, getting set up properly before starting installation reduces errors and helps the insulation perform as intended. This matters because even small installation mistakes can reduce energy benefits.
Safety and Code Considerations for Insulation Projects
Insulation projects aren’t just about energy savings they’re also about safety and durability. For penetrations, gaps, and certain building assemblies, using the right materials matters for both performance and compliance.
In some areas, sealing and insulating needs to account for fire safety standards. Products like fire-resistant foam can support safer assemblies when used appropriately.
DIY homeowners should also treat insulation work like any other construction job: protect your lungs, skin, and eyes. Using protective safety gear helps reduce exposure and keeps the work safer and more comfortable.
Common Insulation Mistakes That Reduce Energy Efficiency
Insulation only performs well if it’s installed correctly. Even “good” material can underperform if it’s misapplied.
Avoid these common mistakes
- Skipping air sealing: insulation doesn’t stop airflow by itself in many cases
- Compressing insulation: reduces effectiveness and increases heat flow
- Leaving gaps or voids: creates “short paths” for heat and air
- Ignoring moisture: wet insulation performs poorly and can damage building materials
- Overlooking ventilation: especially important in attics and roof assemblies
A good rule: prioritize stopping air leaks, then insulate thoroughly, then confirm moisture/ventilation basics are sound.
Environmental Benefits of Energy-Efficient Insulation

Insulation doesn’t only help your wallet. It can also support environmental goals by reducing energy demand and lowering emissions tied to heating and cooling.
Environmental advantages include:
- Reduced household energy consumption
- Lower greenhouse gas emissions from heating/cooling
- Less strain on local energy grids during peak usage
- Improved sustainability without changing comfort expectations
For energy/comfort-aware homeowners, insulation is one of the most practical “green upgrades” because it improves daily living while reducing energy waste.
Why Choose VB Insulation for Energy-Efficient Solutions
VB Insulation supports homeowners, DIY users, and light commercial projects with insulation options that balance performance and cost. The right product choice and installation approach can make the difference between “some improvement” and a home that genuinely feels more efficient.
If you’re deciding between insulation types, planning a project, or troubleshooting comfort issues, getting professional insulation advice can help you avoid guesswork and focus your budget where it delivers the best results.
Frequently Asked Questions (FAQs)
What is energy efficiency and insulation?
Energy efficiency is using less energy to maintain comfort, and insulation supports it by slowing heat flow through walls, ceilings, and floors.
- It reduces heating/cooling demand
- It stabilizes indoor temperatures
- It limits energy loss through the building envelope
How does insulation benefit the environment?
Insulation benefits the environment by lowering overall energy consumption, which reduces emissions from power generation and fuel use.
- Less heating and cooling energy required
- Lower greenhouse gas emissions
- Reduced peak demand on the grid
How much does insulation reduce heat loss?
Insulation can reduce heat loss by roughly 30–50% in problem areas when combined with proper air sealing and correct installation.
- The attic and roofline often show the largest improvement
- Gaps and compressed insulation reduce results
- Moisture issues can degrade performance quickly
How quickly does insulation pay for itself?
Insulation often pays for itself within 2–5 years, depending on energy prices, climate, and how under-insulated the home was.
- Larger savings typically come from attic upgrades and air sealing
- Improved HVAC efficiency can reduce maintenance costs
- Comfort improvements begin immediately in many homes
Does insulation work in both summer and winter?
Yes, insulation works year-round by reducing heat movement in both directions.
- Winter: keeps warm air inside
- Summer: slows heat entering the home
- Both seasons: reduces HVAC runtime and improves comfort
What insulation is best for budget-conscious homeowners?
Fiberglass is often the best choice for budget-conscious homeowners who want solid performance at a lower cost.
- Works well in attics and accessible cavities
- Performs best when installed without gaps
- Often paired with air sealing for better results
Can insulation improve indoor comfort immediately?
Yes, insulation can improve comfort immediately by reducing drafts and stabilizing temperatures.
- Rooms feel less “swingy” across the day
- Floors and exterior walls feel less cold in winter
- AC may cycle less frequently in summer
Final Thoughts
If you’re trying to reduce bills, improve comfort, and make your home easier to heat and cool, insulation is one of the most effective upgrades you can make. Now you have a clear answer to how does insulation improve energy efficiency it reduces heat transfer, limits energy loss, and helps HVAC systems work smarter instead of harder.