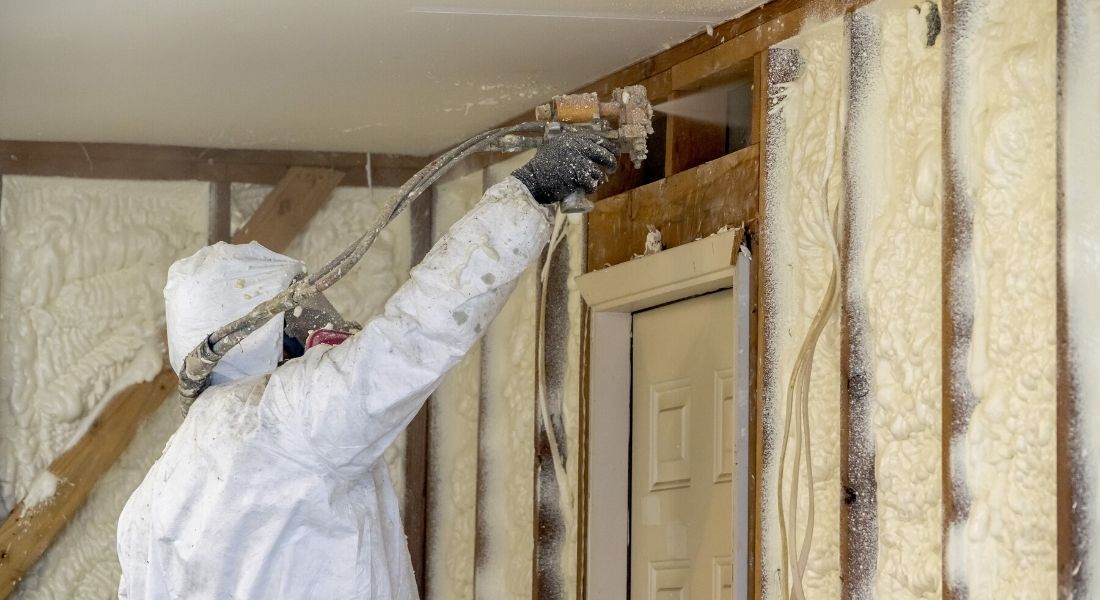


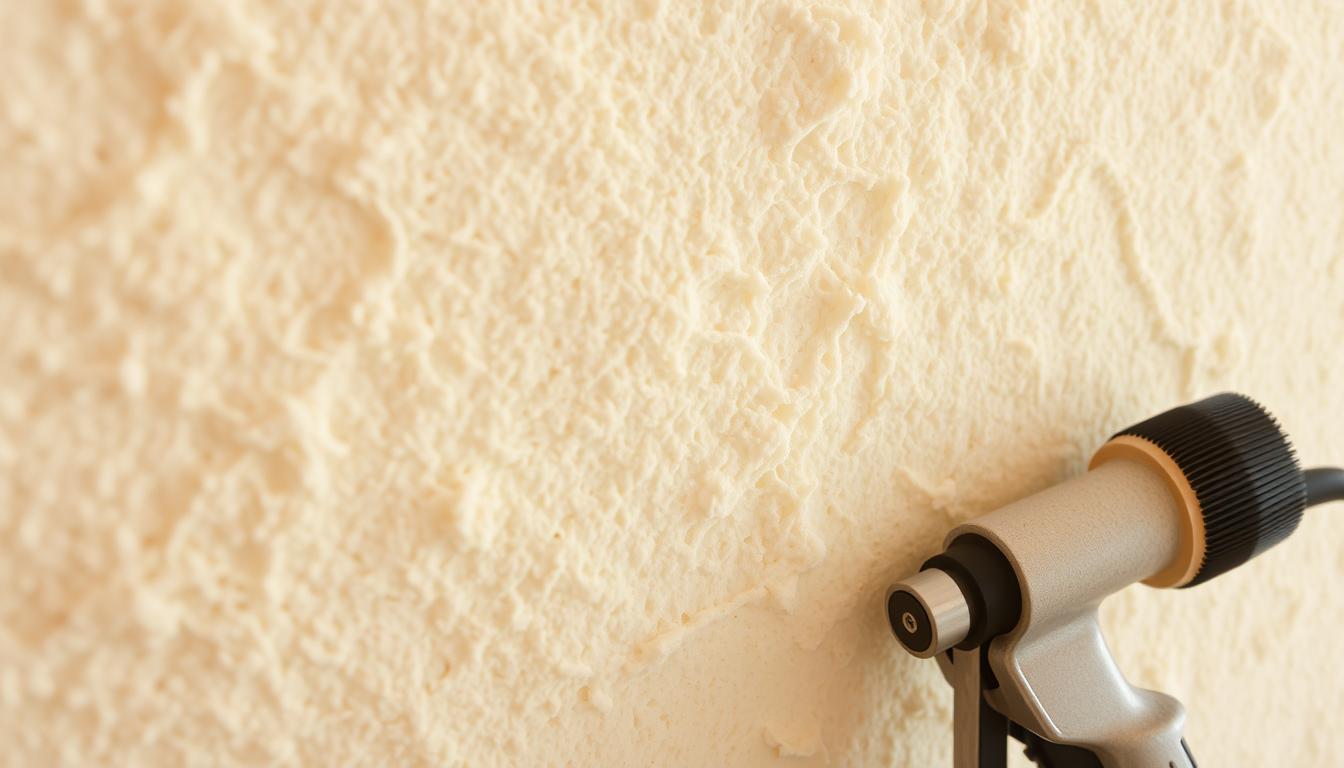


of the cans used so far 1 was dead, the gun needs to be kept extremely well cleaned to work. but does what it says
kit was very high quality, and foam spray is ok for 1 part can, but i did get 1 dead can out of the 6 pack
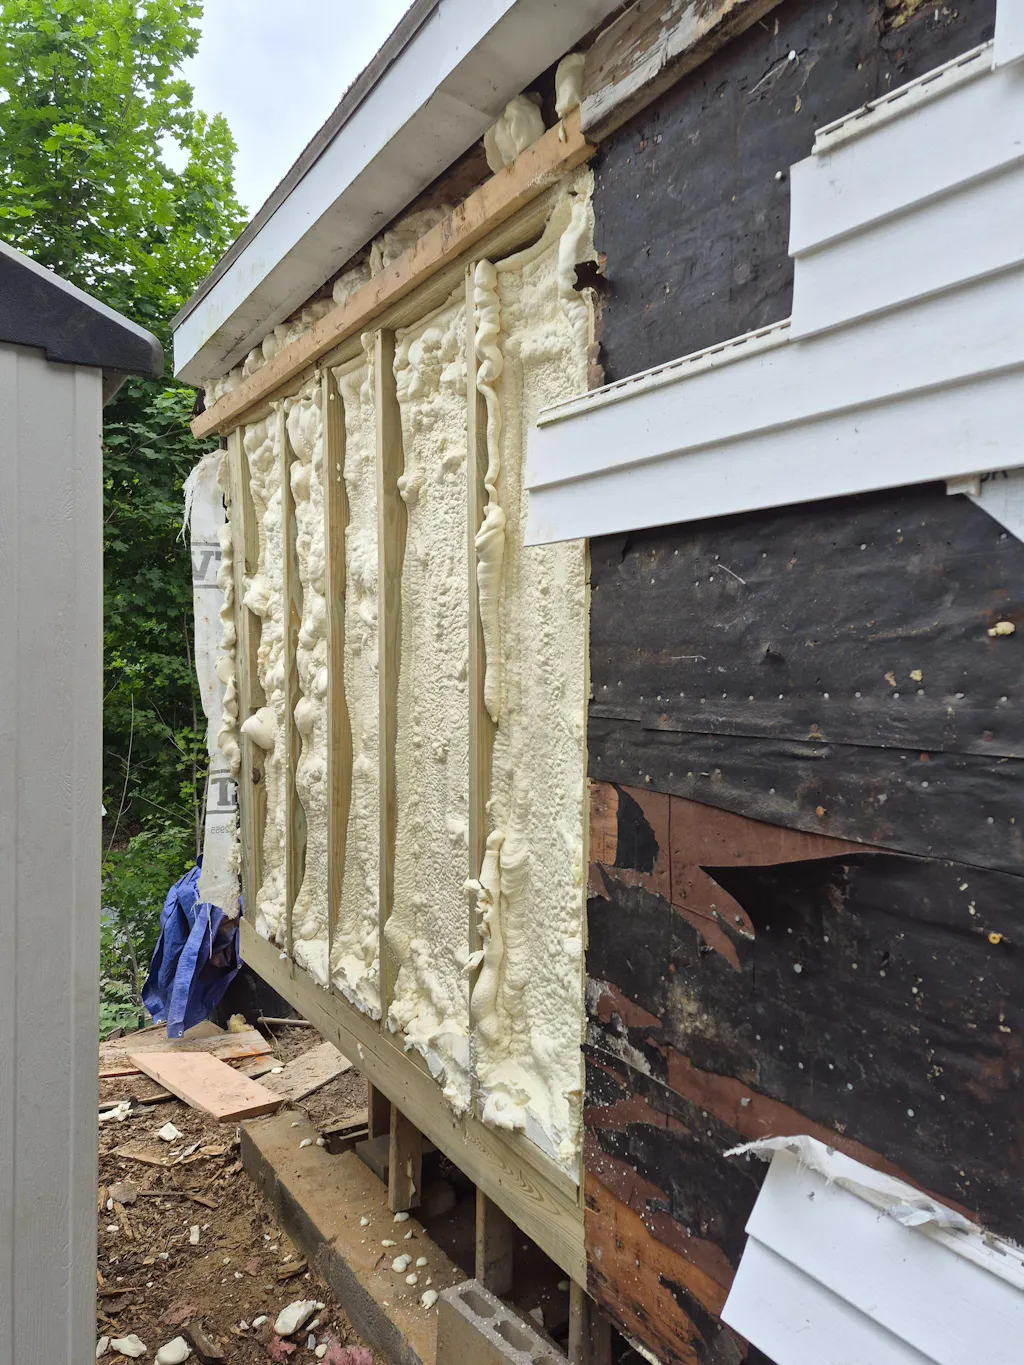
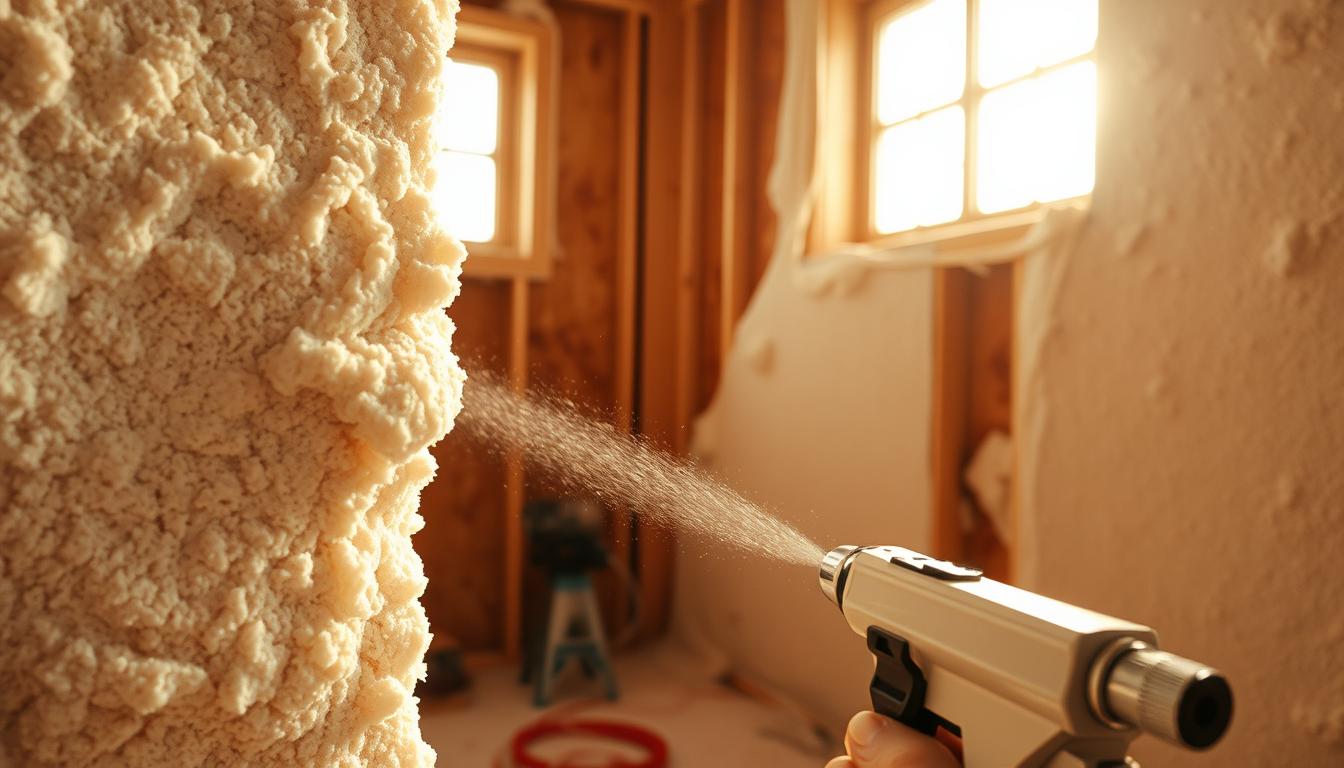
It did a great job. I would have given it a five star but out of the 40 cans I used I had five bad ones that’s still provided product to come out but not the way it should have. Overall, my project turned out excellent

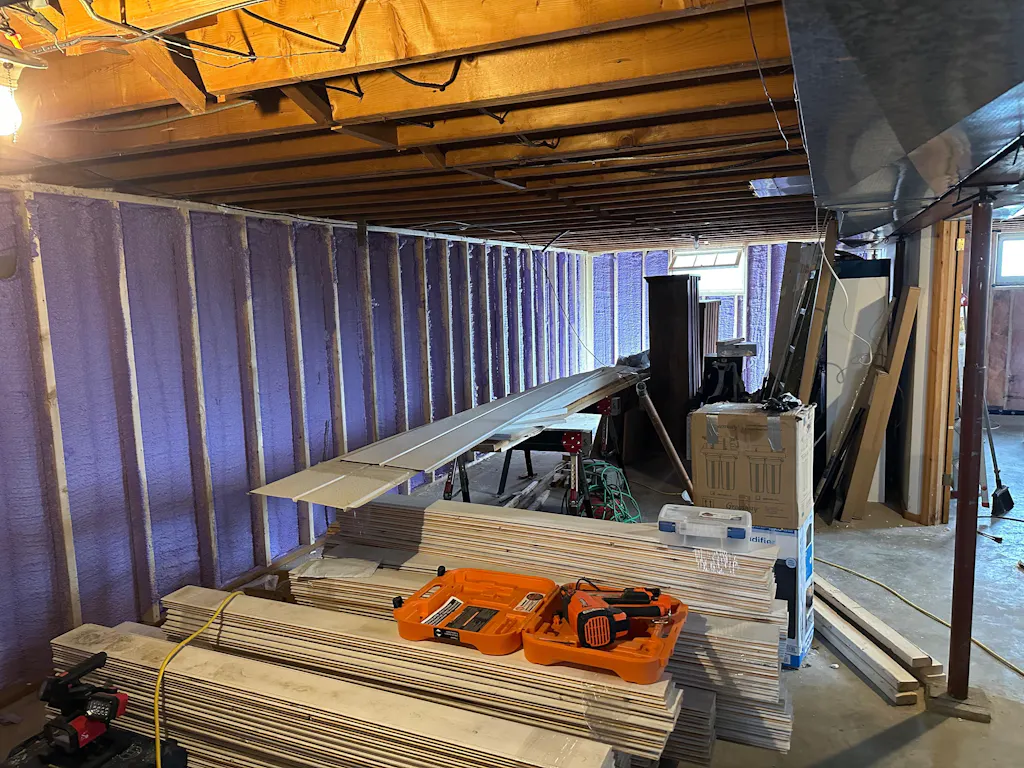
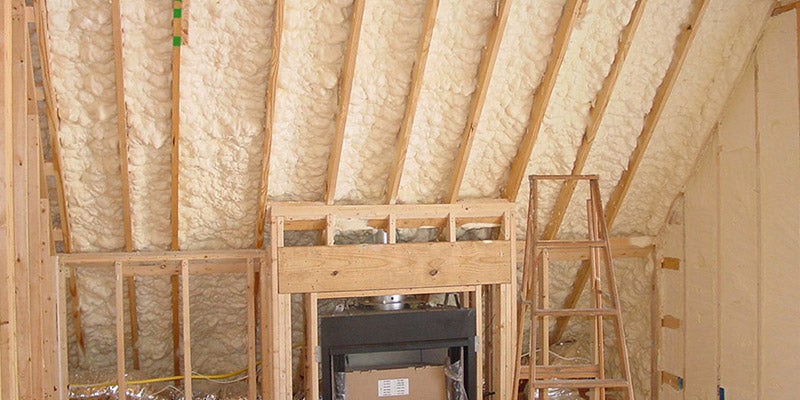
This worked well. I'm hoping for very low heating bills this coming winter