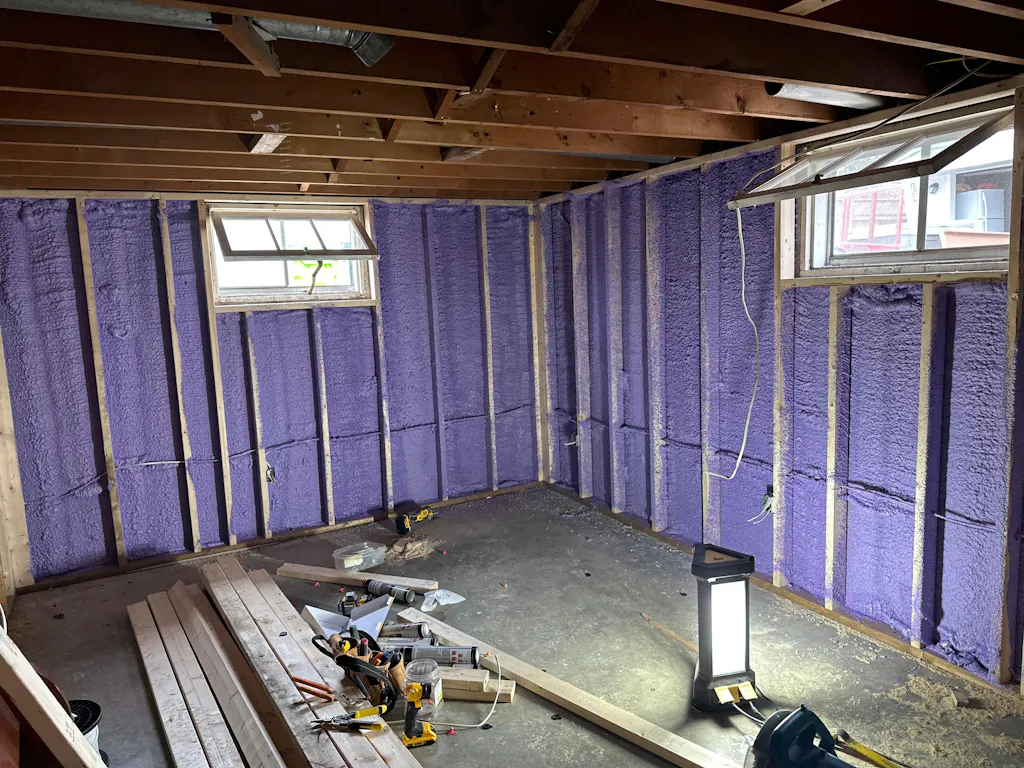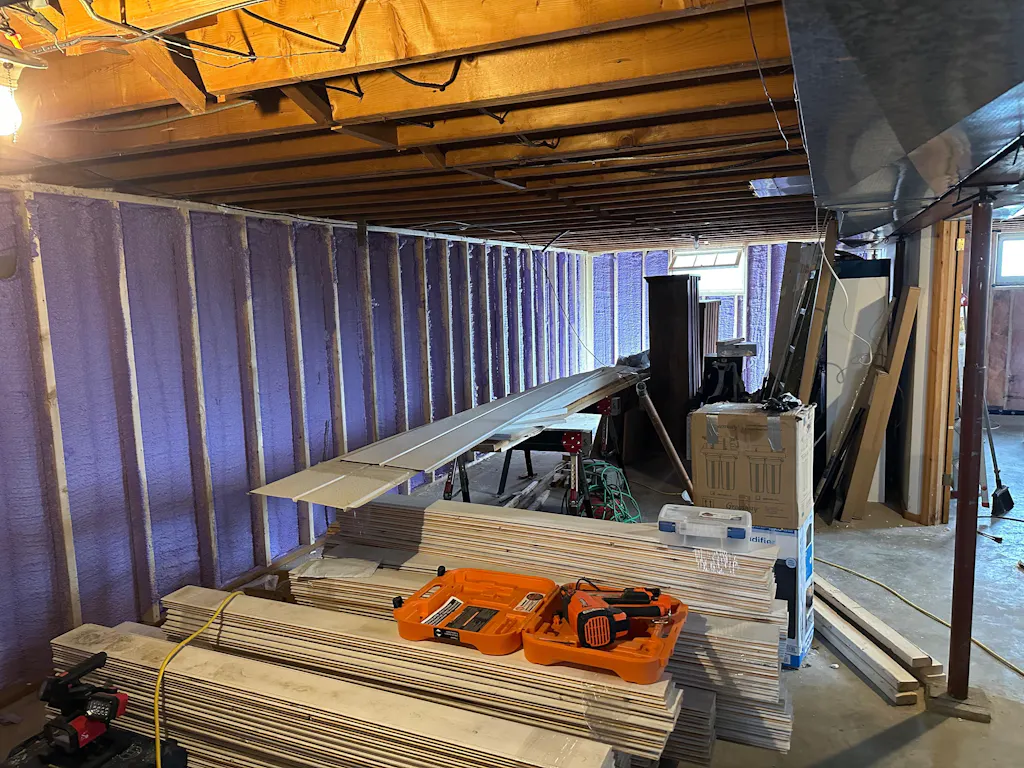
Spray foam insulation has become a popular choice among homeowners and DIYers who want to improve energy efficiency, reduce air leaks, and create a more comfortable home environment. When applied correctly, it forms an airtight barrier that increases thermal performance and protects against moisture issues.
But while spray foam is powerful, it’s also unforgiving. A few small errors can lead to air leaks, R-value loss, and costly rework. Before starting your project, it’s essential to understand the most common DIY mistakes and how you can avoid them.
Below, we’ll cover the five most common spray foam mistakes, with practical steps and safety-conscious advice to help you achieve professional-quality results.
Key Takeaways:
-
Spray foam requires safety gear and ventilation to prevent toxic fume exposure and health risks.
-
Foam fails to adhere on dirty, damp, or unprepared surfaces, leading to insulation breakdown.
-
Over- or under-spraying creates air leaks, wasted product, or uncured layers that trap moisture.
-
Temperature, humidity, and strict manufacturer instructions determine proper curing, adhesion, and long-term insulation performance.
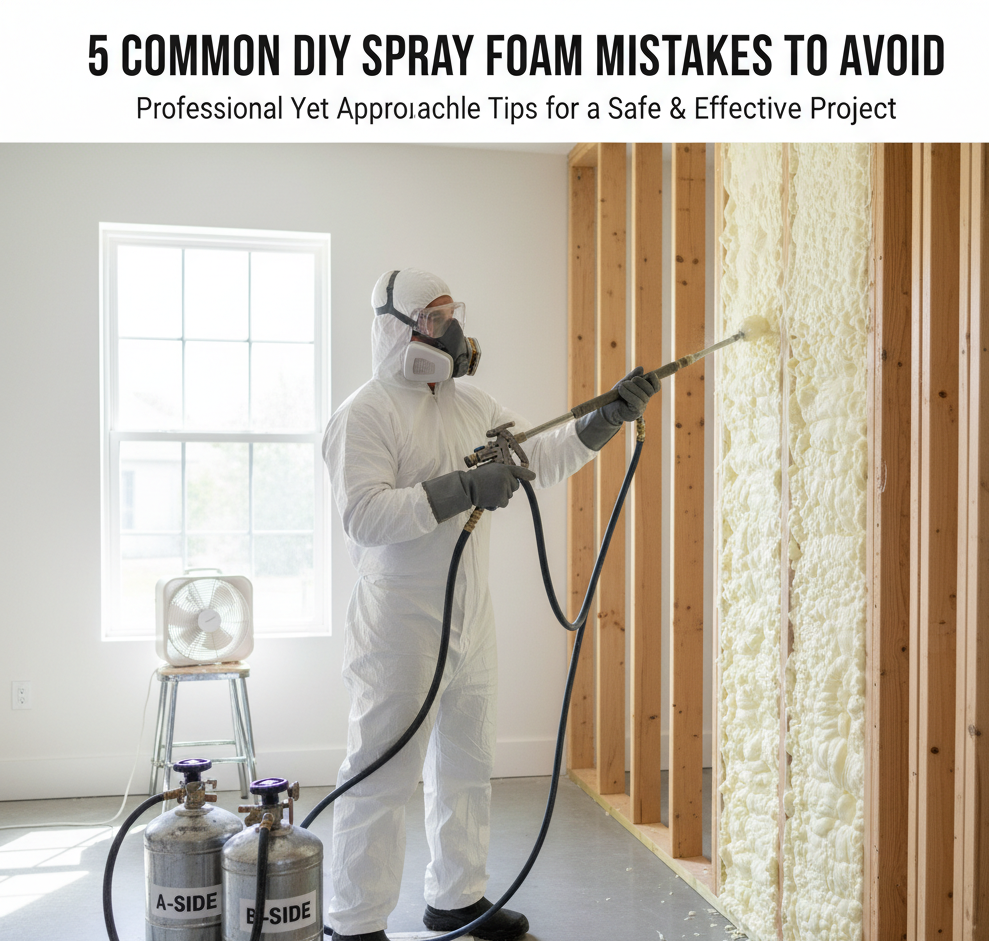
1. Skipping Safety and Ventilation
Why it’s a mistake: Spray foam contains chemicals that release vapors during application. Without the right protective measures, you risk exposing yourself and your home to harmful fumes.
What can go wrong:
-
Eye and skin irritation.
-
Respiratory issues from inhaling vapors.
-
Contaminated indoor air if the space isn’t ventilated.
How to avoid it:
-
Wear the right gear: respirator, goggles, gloves, long sleeves, and pants.
-
Ensure cross-ventilation by using fans or opening windows.
-
Do not re-enter the space until the foam has fully cured (follow curing times provided by the manufacturer).
Remember: safety gear isn’t optional. Protecting your health is as important as sealing your home.
2. Improper Surface Preparation
Why it’s a mistake: Foam only adheres to clean, dry, and stable surfaces. Failing to prepare surfaces properly means your insulation may not stick or worse, it may fail within months.
Common issues:
-
Spraying onto dusty or greasy surfaces.
-
Applying foam to damp areas, leading to adhesion failure.
-
Ignoring large cracks that should be sealed first.
Proper surface prep for foam insulation:
-
Clean the area thoroughly (vacuum or wipe down).
-
Check moisture levels and surfaces must be completely dry.
-
Fill larger gaps with a backer rod or caulk before spraying.
-
On smooth or metal surfaces, use a primer if recommended.
Notes: If you’ve asked yourself “Can spray foam fail to stick if surfaces are not clean or dry?” The answer is absolutely yes.
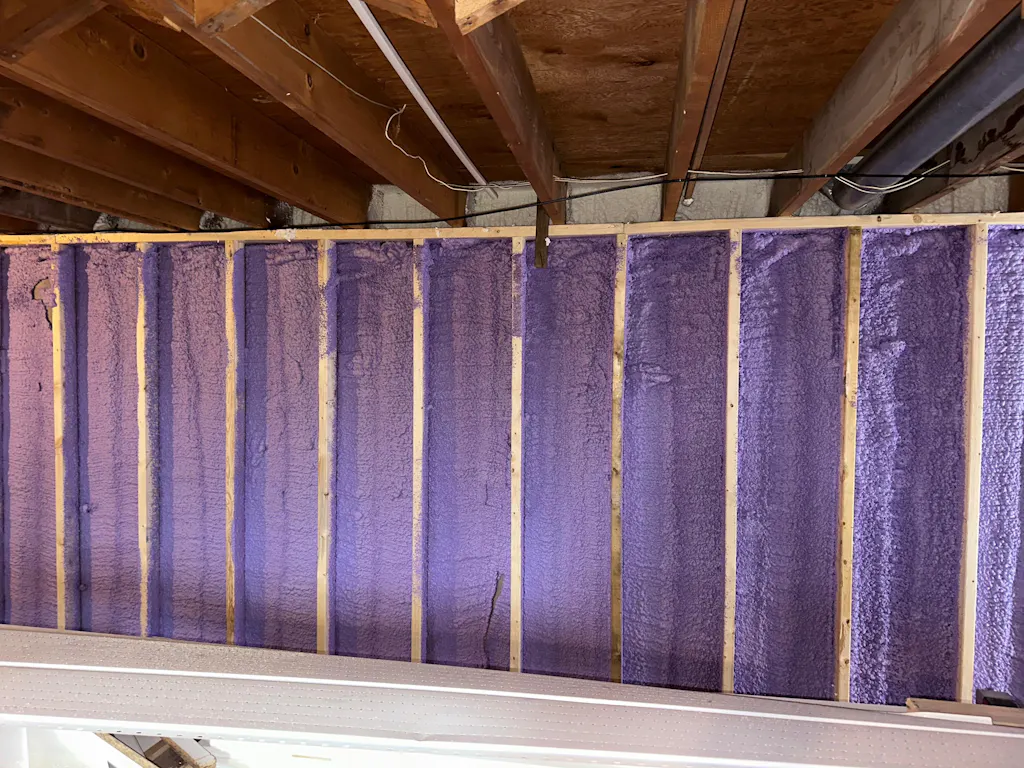
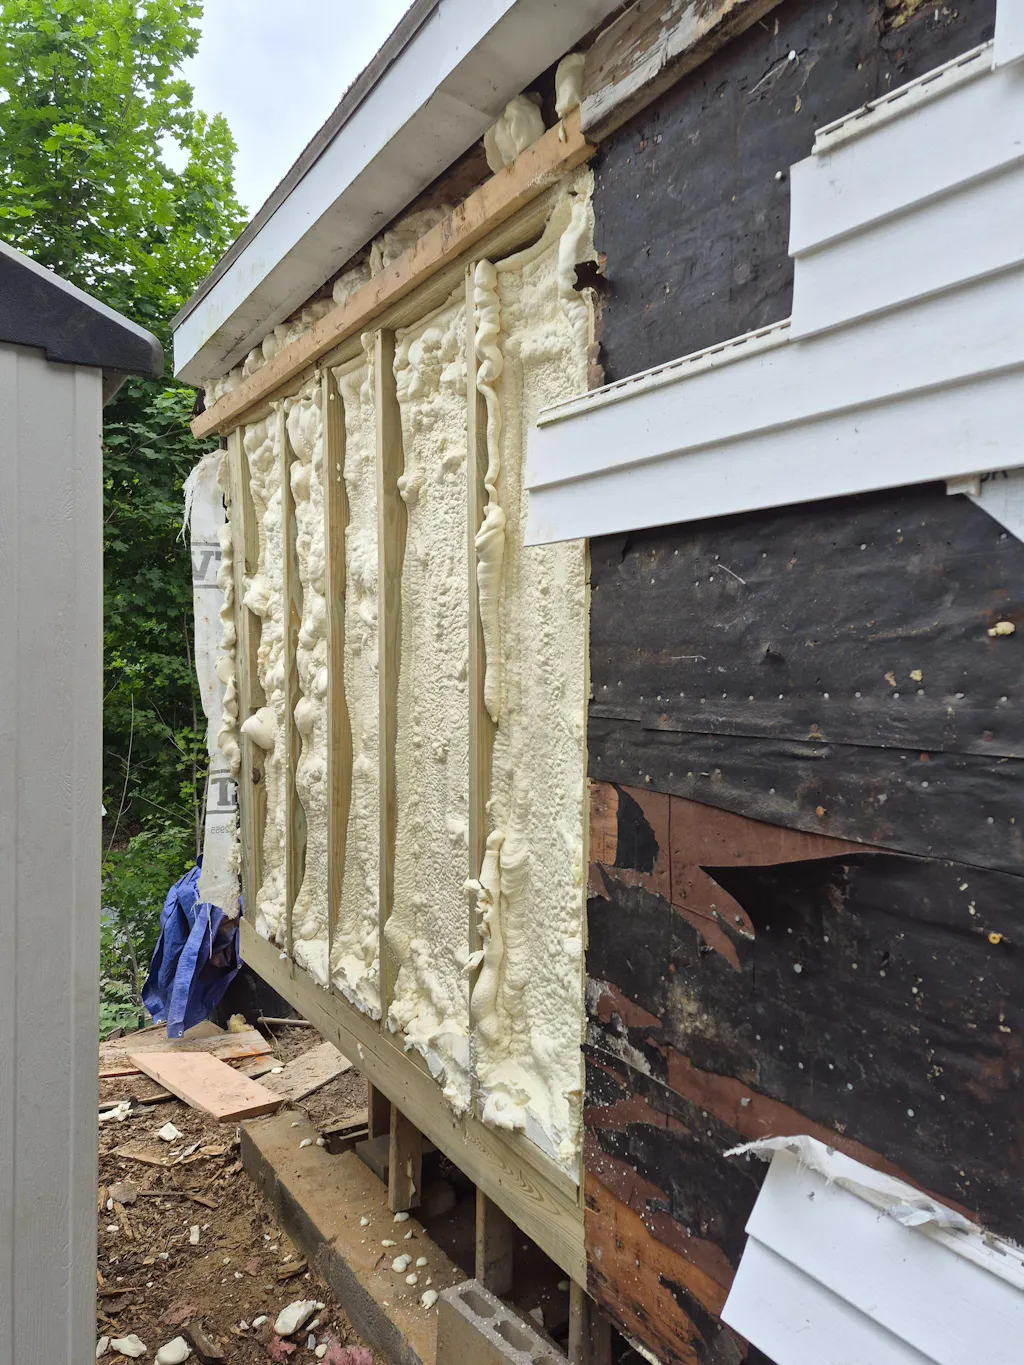
3. Over-Spraying vs. Under-Spraying Foam

Why it’s a mistake: Spray foam expands as it cures. Applying too much or too little can ruin the insulation value and cause damage to your walls or cavities.
What can go wrong:
-
Over-spraying: foam bulges out of cavities, wastes product, and may require trimming.
-
Under-spraying: leaves gaps that allow air leaks from poor spray foam installation.
-
Thick layers that don’t cure properly, trapping moisture or heat.
How to apply correctly:
-
Apply closed-cell foam in 1-inch passes.
-
Let each layer cure before applying the next.
-
Watch for uniform coverage to avoid “heavy spots” or skipped areas.
Notes: For smaller-scale projects, a single-component option such as the Vega Bond Purplecoat kit can make it easier to control layering and avoid the common mistakes of over-spraying or under-spraying foam.
4. Ignoring Moisture and Temperature Conditions
Why it’s a mistake: Spray foam reacts to its environment. If temperature or humidity isn’t controlled, you risk weak adhesion, moisture buildup, or insulation failure.
What can go wrong:
-
Cold surfaces prevent foam from bonding properly.
-
High humidity leads to trapped moisture inside foam cells.
-
Excess heat accelerates curing, making foam unmanageable.
Best practices:
-
Check the manufacturer’s recommended temperature range (usually 60–80°F).
-
Test surfaces with a moisture meter before spraying.
-
Avoid spraying during rainy or damp conditions.
Notes: Moisture issues with spray foam mistakes don’t always show immediately they can lead to hidden mold and wood rot over time.
5. Ignoring Manufacturer Instructions
Why it’s a mistake: Spray foam kits may look simple, but each has specific requirements for application, curing, and storage. Skipping instructions almost always leads to failure.
Common problems with spray foam kits:
-
Using the wrong nozzle or attachment.
-
Storing cans at the wrong temperature (causing clogs or poor spray).
-
Skipping curing times, which weakens insulation.
Best practices for Vega Bond foam kits:
-
Shake and condition canisters as directed.
-
Keep kits at room temperature for best spray performance.
-
Allow full curing before trimming or covering foam.
Notes: Not following instructions leads to insulation R-value loss, uneven coverage, and sometimes costly spray foam rework and fixes.
DIY vs. Professional Spray Foam Results
Before we get into the FAQs, let’s look at how DIY spray foam insulation compares with hiring a professional. Both approaches can deliver solid results but they differ in cost, control, and convenience.
DIY vs. Professional Spray Foam Insulation
|
Factor |
DIY Spray Foam Kits (e.g., Vega Bond) |
Professional Installation |
|
Cost |
Lower upfront cost. Great for budget-conscious homeowners. |
Higher upfront investment, but includes labor and expertise. |
|
Control |
You manage the process and timeline. Best for small to mid-size projects. |
Professionals handle prep, application, and cleanup. |
|
Equipment |
Kits include applicators, but results depend on your skill. |
Access to commercial-grade equipment for consistent application. |
|
Quality |
Results vary, common DIY errors include over-spraying or poor surface prep. |
Generally more uniform, with fewer mistakes. |
|
Flexibility |
Convenient for touch-ups, small jobs, or hard-to-reach areas. |
Best for whole-home projects or large commercial spaces. |
|
Risks |
Higher chance of costly rework if mistakes occur. |
Lower risk due to training and experience. |
If you’re tackling a small or medium project, DIY kits like the Vega Bond V600 Closed-Cell Spray Foam Kit can deliver excellent results when applied carefully. For large-scale jobs, hiring a professional may save time and ensure maximum performance.
Best Practices for DIY Success
Before you pick up a spray foam kit, take the time to prepare properly. Avoiding the five mistakes above skipping safety, ignoring surface prep, misapplying foam, spraying in the wrong conditions, and disregarding instructions will save you time, money, and frustration.
If you’re ready to start, explore our full collection of Vega Bond Foam Kits to find the right solution for your project. With the right kit and careful application, you’ll avoid common problems and enjoy the full benefits of spray foam insulation.
FAQs: DIY Spray Foam Insulation Mistakes
What safety gear do I need when using spray foam insulation at home?
You need:
-
A respirator for organic vapors.
-
Protective goggles.
-
Gloves, long sleeves, and pants to protect skin.
-
Adequate ventilation through fans or open windows.
How should I prepare surfaces before applying spray foam?
Surfaces should be clean, dry, and dust-free. Seal large gaps with caulk or backer rod, and ensure surfaces are stable before spraying.
Why does temperature and humidity matter when spraying foam?
Temperature and humidity affect curing and adhesion. Cold or damp surfaces cause poor bonding, while high humidity may trap moisture. Always spray within the manufacturer’s recommended conditions.
How can I prevent overapplying or over-expanding spray foam?
Apply foam in thin, controlled layers (no more than 1 inch at a time). Let each layer cure before applying more. This prevents bulging and uneven coverage.
What happens if I don’t follow the manufacturer’s instructions for spray foam kits?
-
Nozzles can clog, stopping the spray.
-
Foam may not adhere properly to surfaces.
-
Insulation might not cure fully, reducing R-value.
-
You risk wasting product and needing costly rework.
Can spray foam fail to stick if surfaces are not clean or dry?
Yes, dirty or damp surfaces prevent foam from bonding. This can lead to gaps, air leaks, and insulation failure.
How do I know the right thickness for each layer of spray foam?
Most closed-cell foams should be applied in 1-inch layers.
-
Allow each layer to cure before applying the next.
-
Always check the product’s technical sheet for specific guidance.
-
Avoid spraying too thick at once to prevent curing problems.
What are the risks of ignoring curing times for spray foam insulation?
Foam that doesn’t cure properly may shrink, crack, or release fumes. Always wait the recommended curing time before re-entering or covering the foam.