How to DIY Spray Foam Insulation: A Beginner's Guide
Tired of wasting energy and money on bad home insulation? Have you thought about doing your insulation? With DIY spray foam insulation, you can make your home more efficient. This guide will make you a spray foam pro.
Before we start, here's a question: Do you know bad insulation can cost you hundreds or thousands yearly in bills? This guide will show you how to change that with DIY spray foam. It's a big step to make your home more energy efficient.

Key Takeaways
- Discover the benefits of spray foam insulation and why it's a game-changer for home energy efficiency.
- Learn the different types of spray foam insulation and how to choose the right one for your project.
- Explore a step-by-step guide on how to successfully install spray foam insulation in your home.
- Uncover valuable tips and tricks from the experts at VB Insulation to ensure a flawless DIY installation.
- Understand the essential safety precautions to take when working with spray foam insulation.
Understanding Spray Foam Insulation
Spray foam insulation helps make your home cozy and energy efficient. It's a mix of special chemicals that turn hard when they dry. This creates a protective layer that stops air from leaking out and keeps your home warmer or cooler.
What is Spray Foam Insulation?
This kind of insulation is sprayed onto walls, attics, and under floors. It uses a mix of resin and a catalyst. This mixes and expands into a foam that sticks tight and fills any tiny holes or cracks. It's great for keeping your home comfortable and saving on energy bills.
Read More: DIY Foam Insulation: Step-by-Step Guide for Home Projects
Benefits of Spray Foam Insulation
Spray insulation is a great choice for making your home more efficient. Here are its top benefits:
- It has a better R-value than other insulations. This means it does a better job of keeping your home's temperature steady, cutting your utility costs.
- The foam creates a tight seal that keeps your indoor air in and the outdoor air out. This boosts comfort and air quality in your home.
- It helps control moisture, lowering the chances of mold and structural damage to your house.
- You can use it in many places around your home, making it a versatile option for insulation.
- It lasts a long time, maintaining its effectiveness for decades if installed correctly and looked after.
Read More: Benefits of Spray Foam Insulation
Types of Spray Foam Insulation
There are two types of spray foam insulation: closed-cell and open-cell. They both have different strengths and uses:
| Closed-Cell Spray Foam | Open-Cell Spray Foam |
|---|---|
| Closed-cell is tough and stand-up, with a strong R-value and great for blocking air. It's good for walls, attics, and under floors. | Open-cell is softer, costs less, but has a lower R-value. It works well in places not needing as tight an air seal, like some interior walls. |
| Closed-cell has a better insulation value, typically from R-5 to R-7 per inch. | Open-cell's insulation value is lower, around R-3.5 to R-4 per inch. |
| Closed-cell is better at stopping air and moisture, making it suitable for leak-prone or humid areas. | Open-cell lets some air and moisture through, so it’s not the best for areas needing critical sealing. |
| Closed-cell is usually more costly than open-cell. | Open-cell is generally more budget-friendly. |
Choosing the right spray foam depends on your home's needs and your budget. VB Insulation experts can guide you to find the best fit for your home.
Read More: Which Type of Spray Foam Insulation is Best?

How to DIY Spray Foam Insulation
Doing spray foam insulation yourself requires good planning and detail. VB Insulation helps by giving steps. These include setting up the work area, getting the right tools , and staying safe.
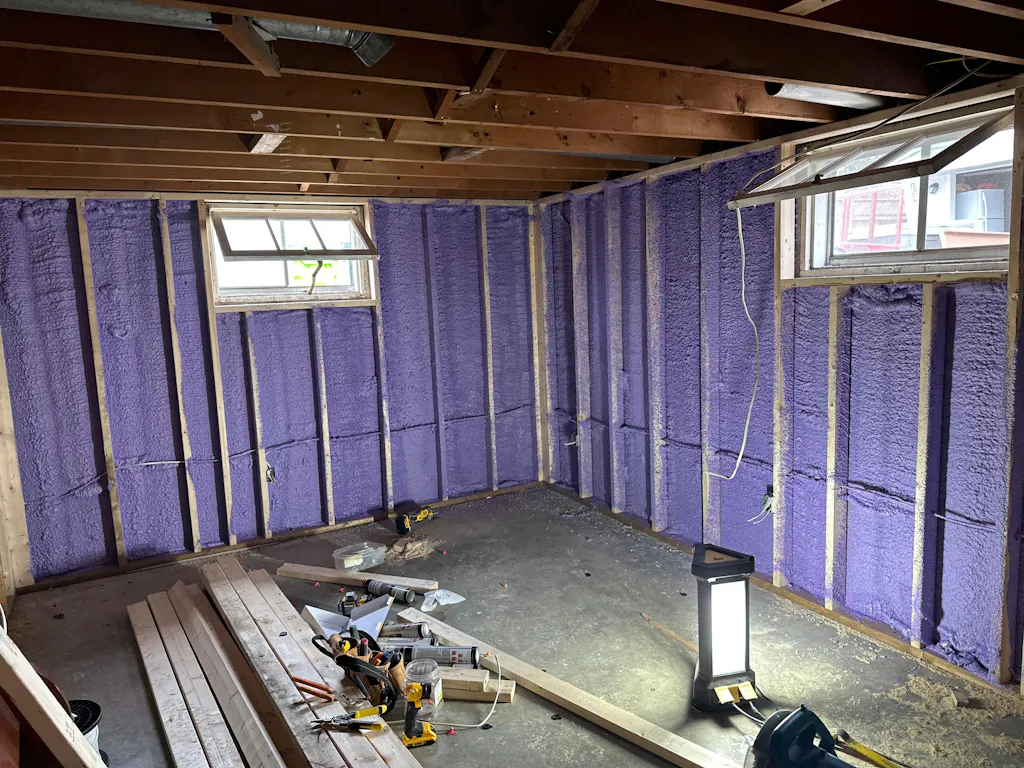
Preparing the Work Area
Before you start, clear the room where you'll install the spray foam. Move things like furniture and wall decorations. Also, protect any surfaces that could get damaged by the foam or need to stay clean. Make sure there's good airflow so the foam can dry well and you can breathe safely.
Gathering the Necessary Tools and Materials
To do a good job, you need the correct gear. Collect the Best spray foam kit from VB Insulation, and safety gear such as goggles and gloves. You'll also need tools like a caulk gun and a utility knife. Double-check the instructions from the manufacturer to have all the right items for a smooth job.
Safety Precautions
Safety is key. You're working with chemicals in a tight space. Always wear your safety gear. This means Safety goggles, gloves, and a Protective Coverall Safety Suit. Keep the area well-aired. Follow the product's safety rules. By doing so, your DIY insulation will be both successful and safe.

Step-by-Step Guide to Spray Foam Installation
Getting ready is the main part of any DIY spray foam insulation job. We'll show you each step for putting in spray foam insulation in your place. This ensures your home works better and uses energy smarter.
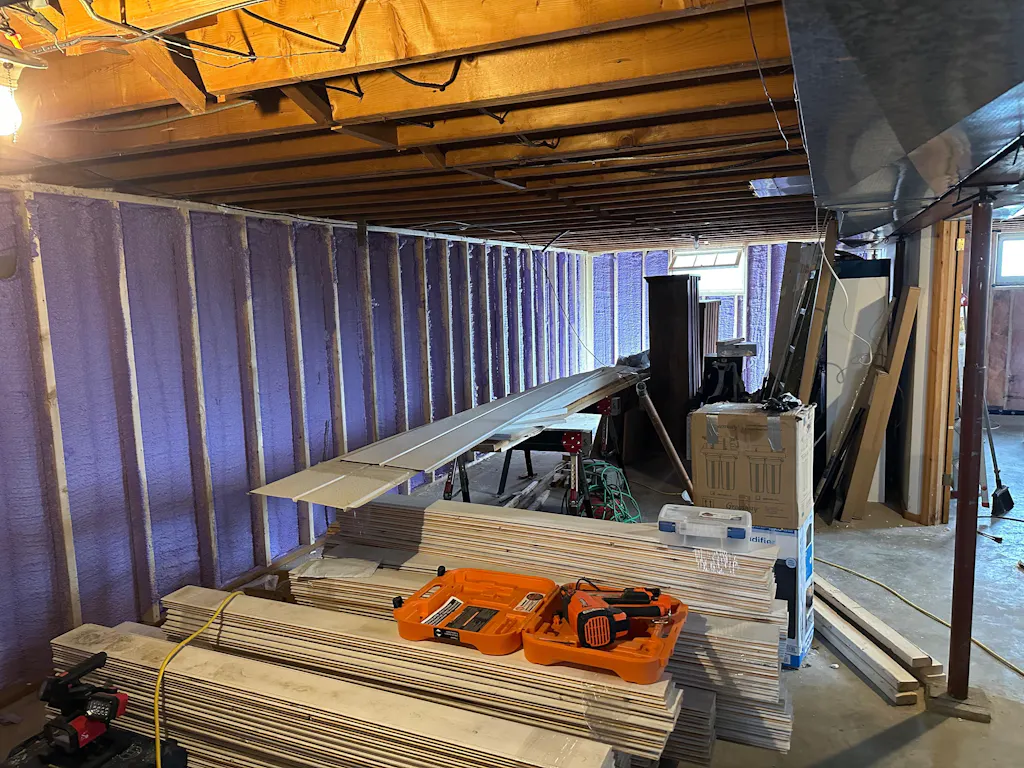
Preparing the Surfaces
First, you need clean surfaces before you spray the foam. Get rid of any dirt or dust. Next, seal up any tiny openings you find with a sealant. This stops air from getting out and makes the insulation work better. Make sure the areas you're working on are dry.
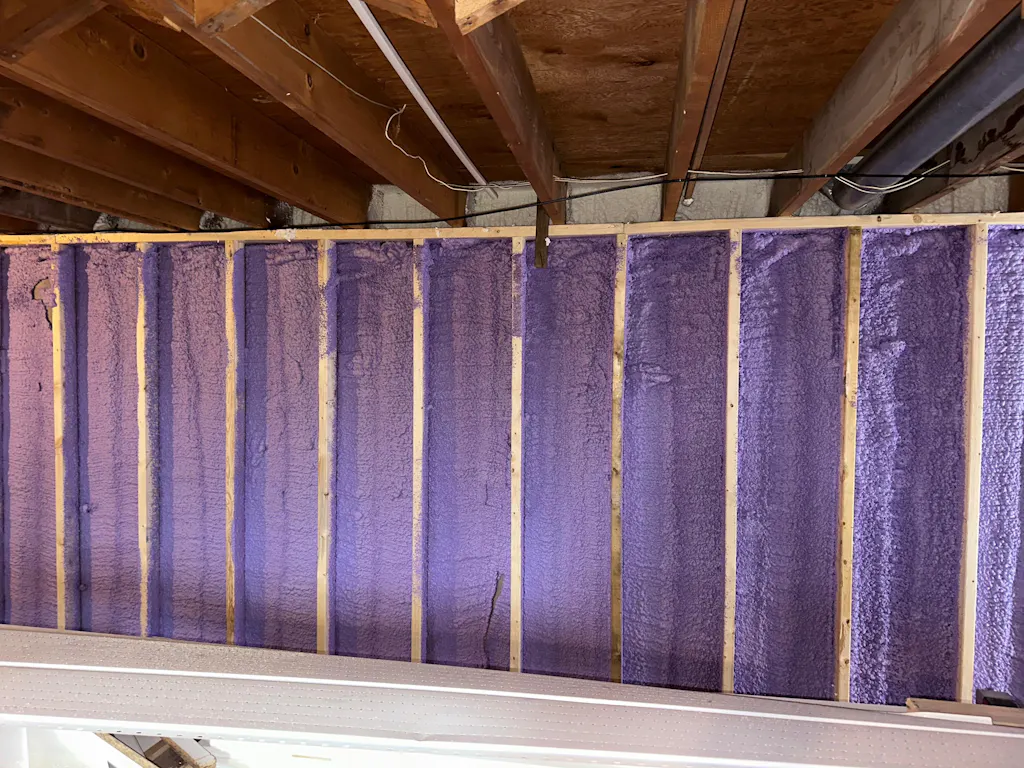
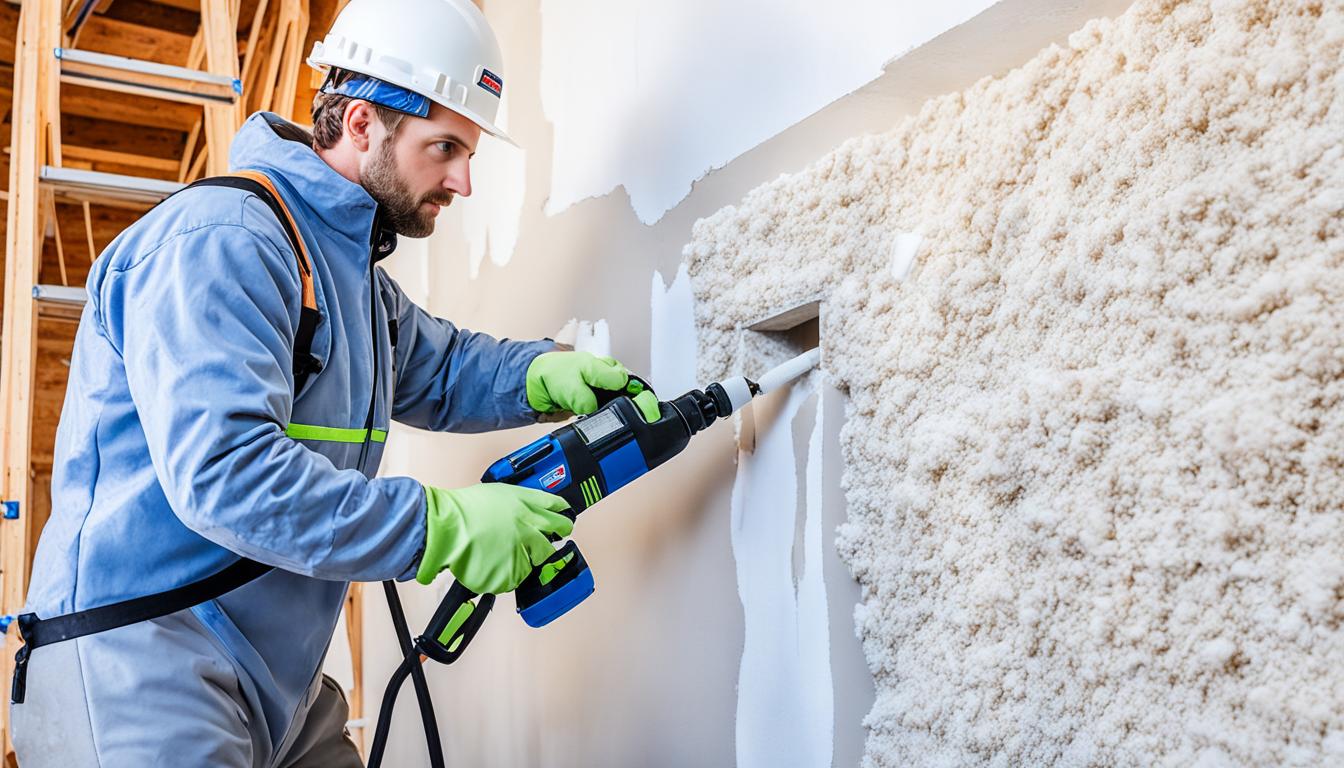
Applying the Spray Foam
Now, it's time to put on the spray foam. Always follow the directions that come with your DIY spray foam insulation kit. Don't forget safety gear like goggles and gloves when using the spray foam. Spread the foam in even layers. Let each layer dry before you add more. Make sure you cover all the spots, especially the tight ones.
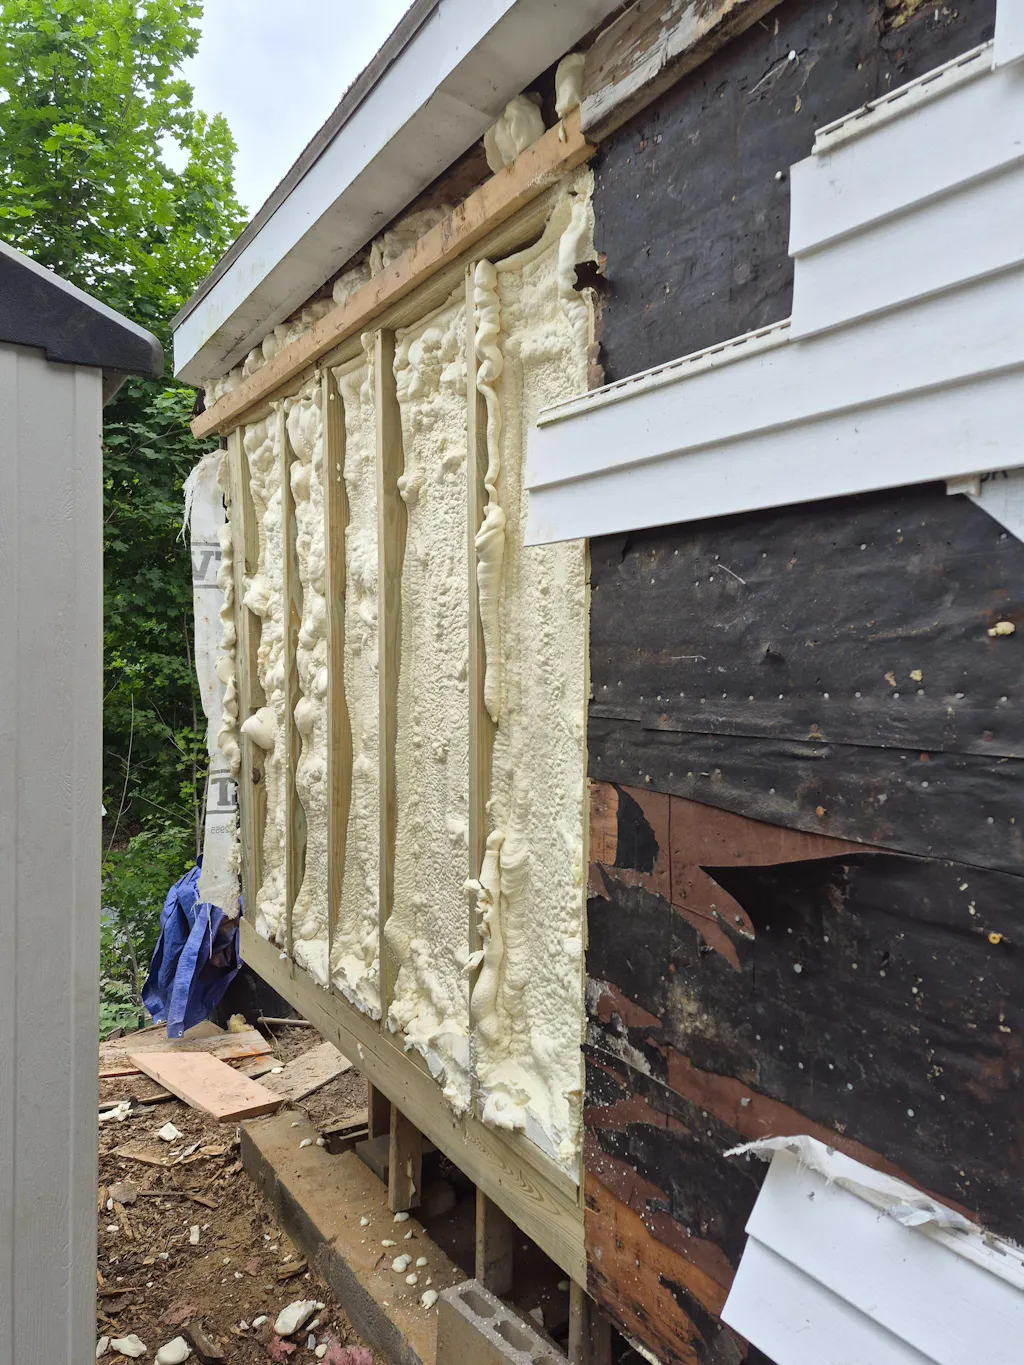
Trimming and Finishing
After the foam is fully dried, you'll trim and tidy up. Cut away any extra foam with a sharp knife. Be careful around any wires or pipes. Then, seal up any gaps with caulk. This makes everything airtight and keeps moisture out.
With guidance from VB Insulation experts, your DIY spray foam insulation will make your home more energy efficient. Plus, it'll keep your house safe from the weather.
Tips and Tricks for Successful DIY Spray Foam Insulation
Starting a DIY spray foam insulation job can bring great rewards. But having the right advice is key to success. The team at VB Insulation shared important tips to guide you:
- Prioritize Air Sealing: It's vital to seal up any openings before using spray foam. This keeps air from leaking out. Doing so improves the effectiveness of your DIY spray foam insulation and insulation installation.
- Maintain Appropriate Temperatures: When installing spray foam insulation, the weather matters. Make sure it's between 60°F and 80°F. This ensures your work is perfect for the best insulation techniques and insulation tips.
- Invest in the Right Equipment: Having the correct insulation equipment is crucial for any DIY work. Don't forget a top-notch spray foam gun, safety gear, and the tools you need. This helps your home insulation projects and DIY tutorials go smoothly.
- Pay Attention to Moisture Control: While spray foam helps with air sealing and moisture control, you need to note any existing moisture. Fix these problems first to avoid issues later.
- Optimize for Energy Efficiency: Spray foam insulation is great for lowering energy costs. Pick the correct insulation R-values and use the best methods. This way, your DIY project will save more energy and money.
- Prioritize Safety: Handling spray foam means dealing with chemicals safely. Always follow the instructions, wear the right safety gear, and keep the area ventilated. This is essential for safe home improvement projects and DIY tutorials.
By following VB Insulation's advice, your DIY spray foam task will be a hit. It will save you money, and be good for the environment, and your home.
Read More: Top DIY Spray Foam Insulation Tips & Tricks
Choosing the Right Spray Foam Insulation Kit
Starting a DIY spray foam insulation project means picking the best kit. VB Insulation highlights the importance of knowing the differences between closed-cell and open-cell spray foam. This knowledge ensures you pick the right one for your home.
Closed-Cell vs. Open-Cell Spray Foam
Closed-cell spray foam is dense and rigid, offering top-notch air sealing and moisture control. It carries a stronger insulation R-value, from R-5 to R-7 per inch. This makes it ideal for enhancing your home's energy efficiency. In comparison, open-cell spray foam is less dense and more flexible.
It's best for air sealing and reducing noise. Its R-value falls around R-3.5 to R-4 per inch, which is still good. Open-cell spray foam is also usually more affordable.
Read More: Closed Cell vs Open Cell Foam
Considerations for Spray Foam Insulation Kits
For your insulation kit, think about the area’s size, desired R-value, and budget. VB Insulation provides various kits, from beginner-friendly to large-scale options. Take time to check what each kit includes, from insulation to safety gear.
This step is crucial. Understanding the differences between closed-cell and open-cell spray foam helps you pick the best for your needs and budget.
Read More: Spray Foam Insulation Cost Per Square Foot
FAQ
What is spray foam insulation?
Spray foam insulation is a unique material. It's applied as a liquid and expands. This lets it cover all nooks and crannies in a home or building. It acts as a strong barrier against the air and moisture. This makes the indoor spaces more energy efficient and comfortable.
What are the benefits of using spray foam insulation?
There are several advantages to using spray foam insulation. It boosts energy efficiency and seals air better. It also controls moisture well and makes structures more sturdy. Additionally, it lowers noise and enhances air quality inside the building.
What are the different types of spray foam insulation?
You'll find two main kinds of spray foam insulation: closed-cell and open-cell. Closed is dense and has a high R-value. It excels at sealing out moisture and air. Open cells are lighter, can move more, and are better at reducing sound.
What tools and materials do I need for a DIY spray foam insulation project?
For a DIY project, gather a spray foam insulation kit, protective gear, and essential tools. This includes goggles, gloves, a respirator, a spray foam gun, extension wands, and utility knives. Make sure to have enough ventilation and cover areas where you don’t want foam.
What safety precautions should I take when installing spray foam insulation?
Keeping safe is crucial when using spray foam. Wear proper gear like a respirator, goggles, and gloves. Also, work in a well-ventilated space. Follow the guidance on the product carefully to stay safe.
How do I prepare the surface for spray foam insulation?
Getting the surface ready is important. Start by cleaning it well. Remove any dirt or debris. Seal off any cracks or gaps. This helps the foam stick better. Make sure the surface is dry before you start.
How do I apply the spray foam insulation?
Follow the instructions closely when applying spray foam. Use the spray foam gun to apply it evenly in small parts. Let the foam fully expand and dry. Then, trim any extra foam with a utility knife.
What tips can you provide for a successful DIY spray foam insulation project?
To make your DIY project a success, remember these tips: - Measure well and get the right amount of foam - Keep the work area well-ventilated and protect it from foam overspray - Work slowly in small sections - Always wear your safety gear - Finish the foam neatly - Ask a pro for help if needed
How do I choose the right spray foam insulation kit for my DIY project?
Look at the R-value, coverage area, and type of foam (closed-cell or open-cell) when choosing a kit. Closed-cell foam has a better R-value and seals air tighter, while open-cell is good for reducing noise. Review the product info carefully to pick the best kit for your project and budget.