DIY Foam Insulation: Step by Step Guide for Home Projects
Are you tired of high energy bills due to poor insulation? Ever considered DIY foam insulation? Spray foam insulation helps cut energy waste in your house. This quick DIY guide will help you master it. Did you know bad insulation can make you spend a lot more on bills each year? With some DIY foam work, you can lower these costs. Making your home more energy efficient is a major win.

Key Takeaways:
- Discover the benefits of spray foam insulation and why it's a game-changer for home energy efficiency.
- Learn the different types of spray foam insulation and how to choose the right one for your project.
- Explore a step-by-step guide on how to successfully install spray foam insulation in your home.
- Uncover valuable tips and tricks from the experts at VB Insulation to ensure a flawless DIY installation.
- Understand the essential safety precautions to take when working with spray foam insulation.
Understanding Spray Foam Insulation
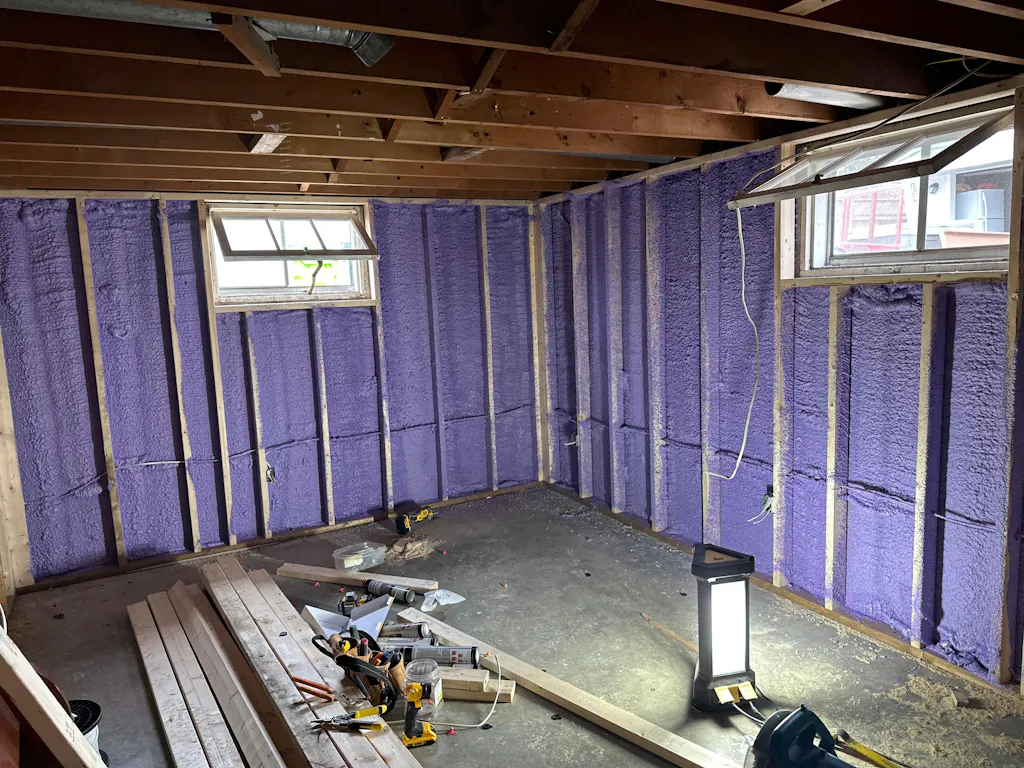
Spray foam insulation keeps your home comfy and uses less energy. It's made from special chemicals. They become hard after they're spread in place. This stops air from escaping and keeps your temperature just right.
It's put on walls, attics, and under the floors. This special form of insulation sticks well, sealing any tiny gaps. It's a top pick for saving on your energy costs. For high efficiency, consider insulation. It offers a better R-value and seals your home tight. It also handles moisture well and can last a long time.
Types of Spray Foam Insulation
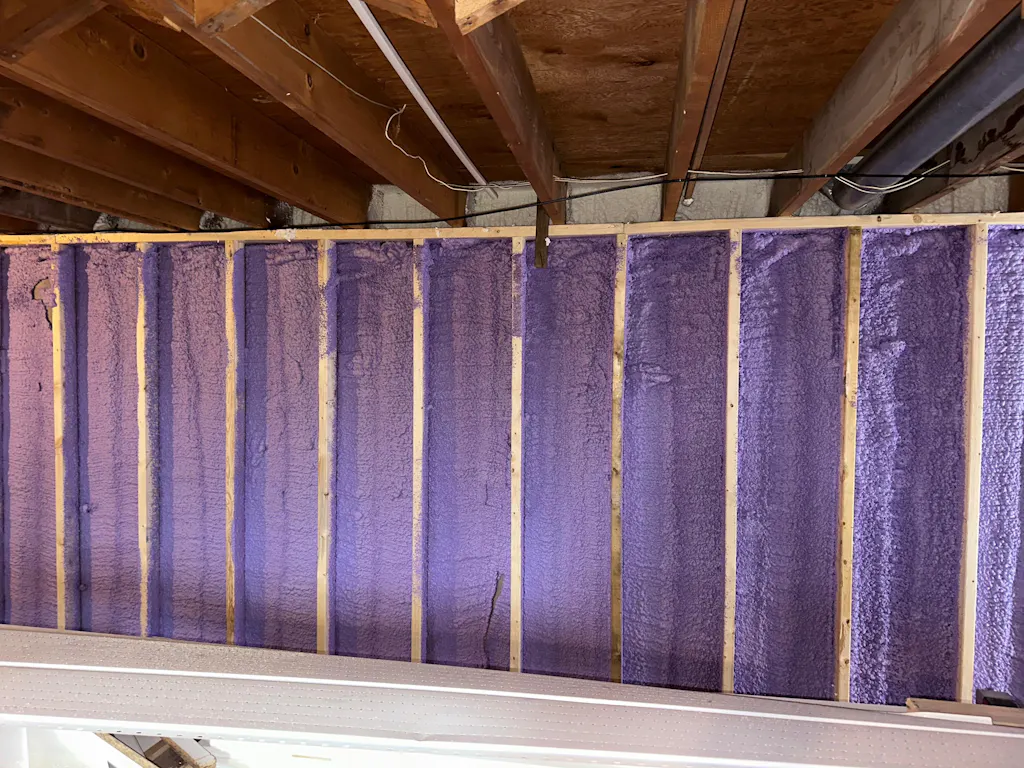
Closed-cell and open-cell are the two types of spray foam insulation. Closed cells are strong and have a high R-value. It's best for places that need a solid barrier against air. This makes it suitable for walls, attics, and underfloors.
Open-cell is softer, and more affordable, but has a smaller R-value. This type is good for areas where an airtight seal isn't crucial. This includes certain interior walls.
Read More: Which Type of Spray Foam Insulation is Best?
Preparing for Your DIY Foam Insulation Project
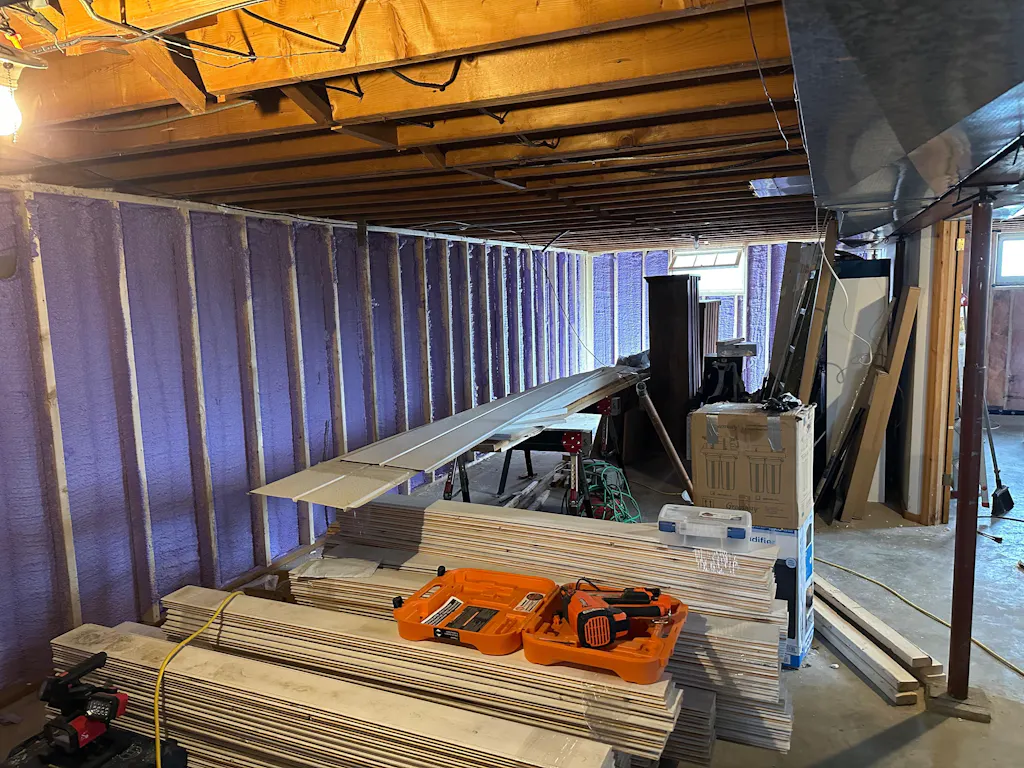
Getting ready for your DIY insulation project needs careful planning. VB Insulation provides steps to help you along. Start by clearing the space where the foam will go. This means moving furniture and décor. Also, cover any areas you want to protect from the foam. It's crucial to ensure there’s enough fresh air for drying and safety as you work.
Gathering the Necessary Tools and Materials
To ensure your spray foam job is done right, you must have the right stuff. Get a quality spray foam kit from VB Insulation. Don't forget about essential safety items like goggles and gloves. You will also use a caulk gun and utility knife. Make sure you closely follow the kit's instructions to gather everything needed for a successful project.
Safety Precautions
Staying safe is important when working with spray foam. You'll be in a confined area with chemicals. Always suit up with safety goggles, gloves, and a Coverall Safety Suit. It also helps to have plenty of ventilation. Remember to strictly adhere to the foam's safety guidelines. Following these tips will make your insulation work both efficient and risk-free.
DIY Foam Insulation Installation Process
Before starting, cleaning is key in any insulation job. First, make sure the area is clean. Remove dirt and dust. Then, seal small gaps with a sealant. This keeps the foam working better. Make sure everything is dry.

Preparing the Surfaces
Start by cleaning the area well to get rid of any dirt. Next, seal up cracks or gaps with a sealant. These leaks can make the insulation less effective. It's essential to fix them before using the foam.
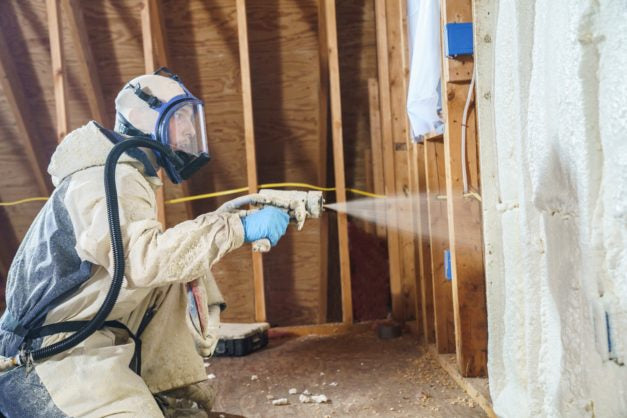
Applying the Spray Foam
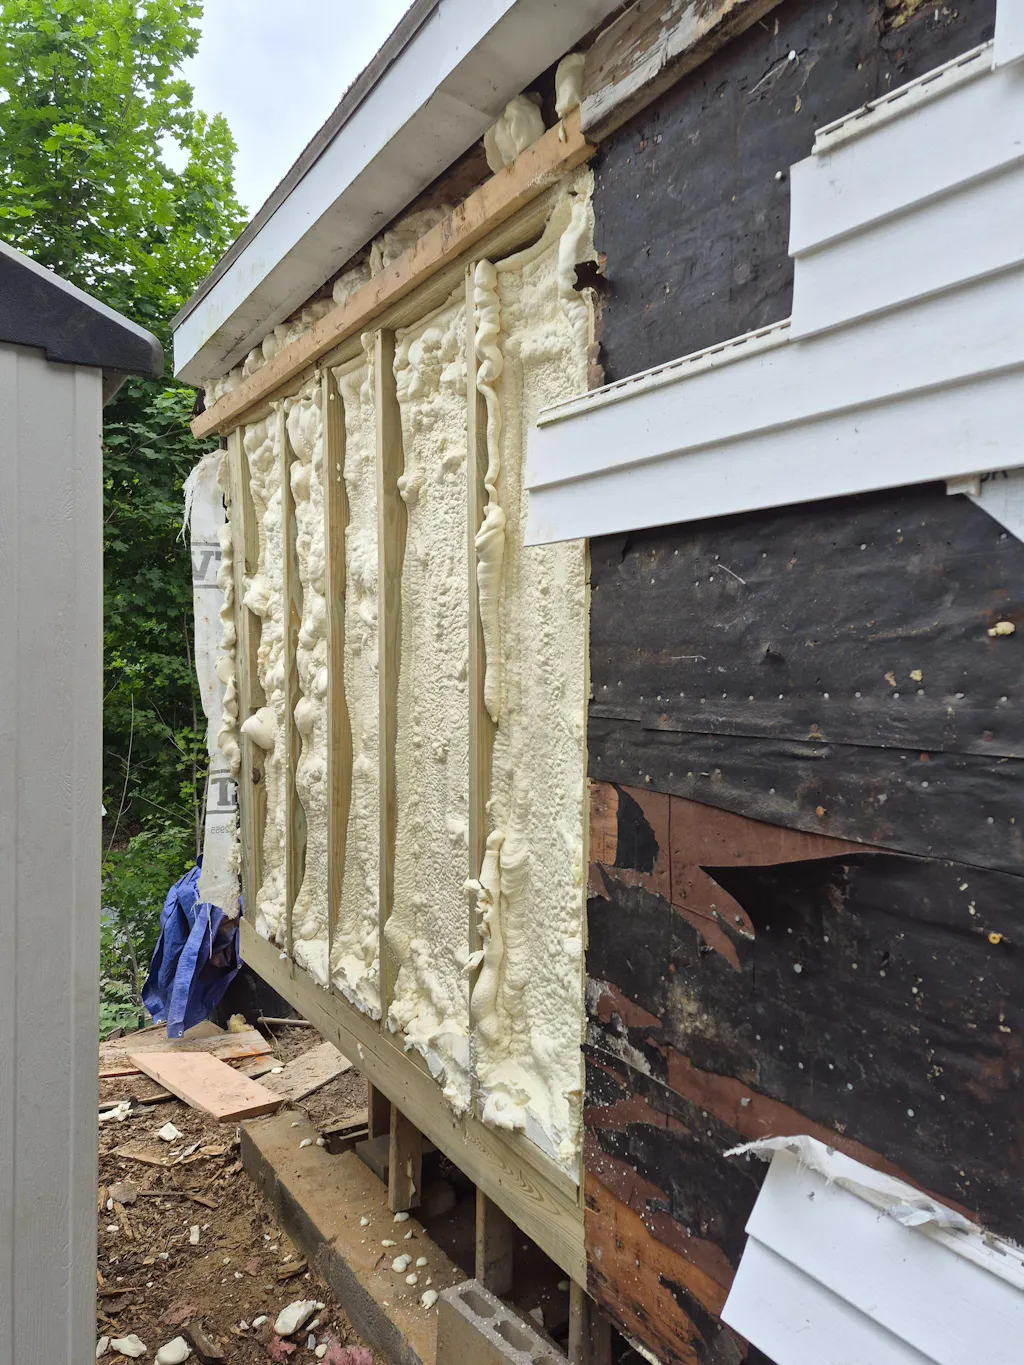
It's time to apply the spray foam. Always read and follow the instructions on your insulation kit. Remember to use safety gear like goggles and gloves. Apply the foam in layers, letting each one dry before adding more. Cover all areas well, especially the small, tight ones.
Trimming and Finishing
Now, you need to trim and clean the foam. Use a sharp knife to cut away extra foam. Be careful around wires or pipes. After trimming, seal any gaps with caulk. This makes your insulation tight and prevents moisture, maximizing its benefits.
With the advice of VB Insulation, your insulation project will upgrade your home's efficiency and comfort. Just follow these steps to enjoy a cozy, energy-saving living space.
Expert Tips and Tricks for Successful DIY Foam Insulation
Starting a DIY spray foam insulation job can bring great rewards. But having the right advice is key to success. The team at VB Insulation shared important tips to guide you:
Prioritize Air Sealing: It's vital to seal up any openings before using spray foam. This keeps air from leaking out. It makes your DIY spray foam insulation and insulation installation more effective.
Maintain Appropriate Temperatures: When installing spray foam insulation, the weather matters. Ensure the temperature is between 60°F and 80°F. This makes your work ideal for the best insulation techniques and insulation tips.
Invest in the Right Equipment: Having the correct insulation equipment is crucial for any DIY work. Make sure you have a top-notch spray foam gun, safety gear, and necessary tools. This makes your home insulation projects and DIY tutorials smoother.
Pay Attention to Moisture Control: While spray foam helps with air sealing and moisture control, check for any moisture issues. Fix these problems first to prevent issues later on.
Optimize for Energy Efficiency: Vega Bond V200 foam insulation is excellent for reducing energy costs. Select the right insulation R-values and employ the best methods. This will make your DIY project more energy and money-saving.
Prioritize Safety: Working with spray foam involves handling chemicals safely. Always follow the instructions, wear the appropriate safety gear, and keep the space ventilated. This is critical for safe home improvement projects and DIY tutorials.
Read More: DIY Spray Foam Insulation Cost
Choosing the Right Spray Foam Insulation Kit
Starting a DIY spray foam insulation project means selecting the best kit. VB Insulation talks about the key differences between closed-cell spray foam and open-cell spray foam. This info is vital for choosing the most suitable type for your house.

Closed-Cell vs. Open-Cell Spray Foam
Closed-cell spray foam is firm and compact. It's great for stopping air and managing moisture. Plus, it has a high insulation R-value, from R-5 to R-7 an inch. This boosts your home's energy efficiency. Open-cell spray foam, on the other hand, is softer and less firm. It's perfect for sealing air and cutting down noise. Its insulation R-value is about R-3.5 to R-4 per inch, which is also good. Open-cell spray foam is often cheaper than closed-cell.
Read More: Closed Cell Spray Foam vs Open Cell Spray Foam
Considerations for Spray Foam Insulation Kits
When choosing your kit, consider the size of the area, the needed R-value, and your budget. VB Insulation has a wide range of kits, suitable for both beginners and larger projects. It's important to know what each kit comes with, including insulation and safety equipment. This knowledge is key. It helps you decide which spray foam type is the best for your project and how much you want to spend.
Conclusion
DIY foam insulation can greatly boost your home's energy efficiency and comfort. Understanding its benefits and how to install it is key. VB Insulation offers expert advice so you can go ahead confidently.
When done right, your project will make your home cozier and cut energy costs. It's a step towards a greener future. So, start exploring DIY foam insulation now. This choice will bring you savings and comfort over time.
Guidance from VB Insulation will help you through the process, from material selection to the final installation. No matter if it's your attic, walls, or basement, they've got your back. Together, let's make your home more efficient, comfy, and eco-friendly.
Read More: Cost of Spray Foam Insulation
FAQ
Do you know bad insulation can cost you hundreds or thousands yearly in bills?
Yes, if your insulation isn't good, you can lose a lot of energy. This makes your bills go up. But, you can fix this by using DIY spray foam insulation.
What are the benefits of spray foam insulation?
Spray foam makes your home comfy and saves energy. It forms a barrier against the outside. This keeps your home at the right temperature, which cuts down on energy use.
What are the different types of spray foam insulation?
Spray foam comes in closed-cell and open-cell types. Closed is strong and keeps the air out well. Open-cell is softer, cheaper, and works better in some areas.
What should I do to prepare for a DIY spray foam insulation project?
Start by emptying the room and covering things up. You should have good airflow and get all the needed gear. This includes the insulation kit, a caulk gun, a utility knife, goggles, gloves, and a coverall.
What are the key steps in the DIY spray foam insulation installation process?
The first thing to do is make sure the surfaces are ready by sealing up any holes. Then, spray the foam evenly, waiting for it to dry between layers. Finally, cut off extra foam and fill any gaps with caulk.
What expert tips should I keep in mind for a successful DIY spray foam insulation project?
Air sealing, proper temperatures, the right gear, and handling moisture are very important. Always focus on making your home energy-efficient and safe.
How do I choose the right spray foam insulation kit for my project?
To pick a kit, think about the space you need to fill and your budget. Understand closed-cell and open-cell to choose correctly. VB Insulation has many options for you.