DIY Spray Foam Insulation - What You Need to Know
Ever thought about making your home more energy-efficient? You're not alone. Many homeowners are turning to DIY spray foam insulation. It's a game-changer in the home improvement world, offering an easy way to deal with insulation problems.
So, what is DIY spray foam insulation? And how can it make your home better? This guide will look at this new insulation method in detail. By the end, you'll have all the info you need to decide if it's right for you. It's time to start your journey into DIY insulation.

Key Takeaways
- DIY spray foam insulation kits are affordable and boost energy efficiency.
- They let homeowners easily insulate tricky spots like attics and crawl spaces.
- This kind of insulation is great at keeping air in or out, meaning your home stays comfy and energy bills drop.
- Remember, a little prep and care to make your DIY insulation job a success. Follow the kit's instructions closely.
- VB Insulation has top-notch insulation kits and advice to help make your DIY insulation task easier.
Ready to make your living space cozy and efficient? Let's start exploring DIY spray foam insulation!
Introduction to DIY Spray Foam Insulation
Vega Bond V600 Insulation Kit is gaining popularity among homeowners for its energy-efficiency benefits. It offers excellent air sealing and thermal performance. This lowers energy costs and makes living spaces more comfortable.
Benefits of Spray Foam Insulation
Spray foam insulation gives many perks to those who choose it:
- Improved energy efficiency: Spray foam can reduce heating and cooling costs by half due to its superior insulation and air sealing.
- Enhanced comfort: It gets rid of drafts and uneven temperatures, ensuring your home stays at a steady, comfortable level.
- Increased durability: This insulation fights off mold, mildew, and pests, making it last longer.
- Improved indoor air quality: It prevents outdoor pollutants and allergens from coming into your home, which improves the air you breathe.
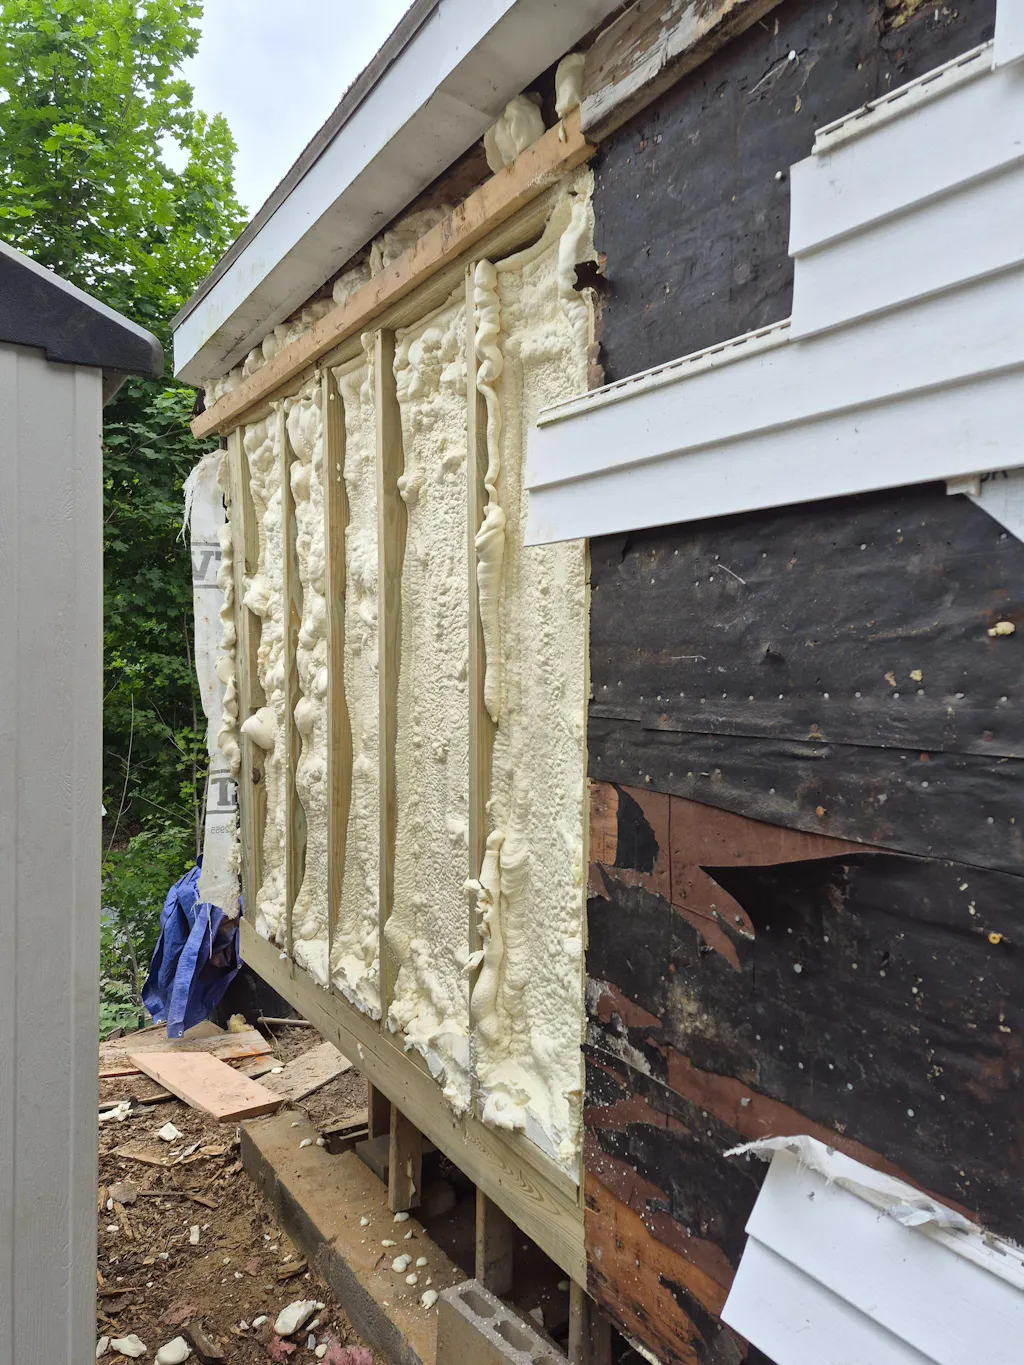
Types of Spray Foam Insulation
There are two types of spray foam insulation:
- Open-cell spray foam: It's less dense and has a lower R-value but is more affordable. It's good for DIYers due to this and its workability.
-
Closed-cell spray foam: This type is denser and has significant insulation benefits. It prevents air and moisture better. Yet, it's costlier.

Preparing for Your DIY Spray Foam Insulation Project
Before starting your DIY spray foam insulation, set up your work area and get what you need. Safety is key, as spray foam insulation can be harmful if mishandled.
Safety Considerations
Dealing with spray foam insulation means you must follow important safety steps:
- Put on the right personal protective equipment (PPE), like a respirator, goggles, and gloves.
- Make sure your work area is airy and without things that could start a fire.
- Read and stick to the maker’s instructions. Take steps to avoid getting foam on you or breathing it in.
- Get rid of any unused foam or materials as your area’s rules say.
Tools and Materials Required
To finish your DIY spray foam insulation plan, you'll need these tools and materials:
- A kit like Proactive Coverall Safety Suit for spray foam insulation (open-cell or closed-cell)
- An applicator gun for the foam
- A tape measure
- A utility knife or scissors
- Cleaning tools (rags, solvents)
- Protective gear (coveralls, goggles, gloves)
- Plastic sheeting or tarps to protect areas
-
A caulk gun and sealant (for air-tight sealing)

DIY Spray Foam Insulation
Start by reading your working area with all the tools and items needed. This will make applying spray foam insulation easier. Depending on your project and the kind of spray foam you use, steps can vary. Yet, there are key steps to always follow.
- Measure and plan the area: Carefully measure and plan the space for insulation.
- Prepare the surface: Clean the area well. Fix any moisture and seal air leaks. This ensures the spray foam insulation performs well.
- Mix and apply the spray foam: Follow the guidelines from places like VB Insulation for mixing and using the foam with the applicator gun.
- Trim and smooth the foam: Cut off extra foam with a knife or scissors. Then, smooth it for a flat look.
- Seal any remaining gaps or cracks: Fill small openings with a caulk gun and sealant. This makes sure your insulation is tight.
Stick to these spray foam insulation installation tips, and you'll finish your project well. You'll see better energy use, a cozier home, and cleaner air.
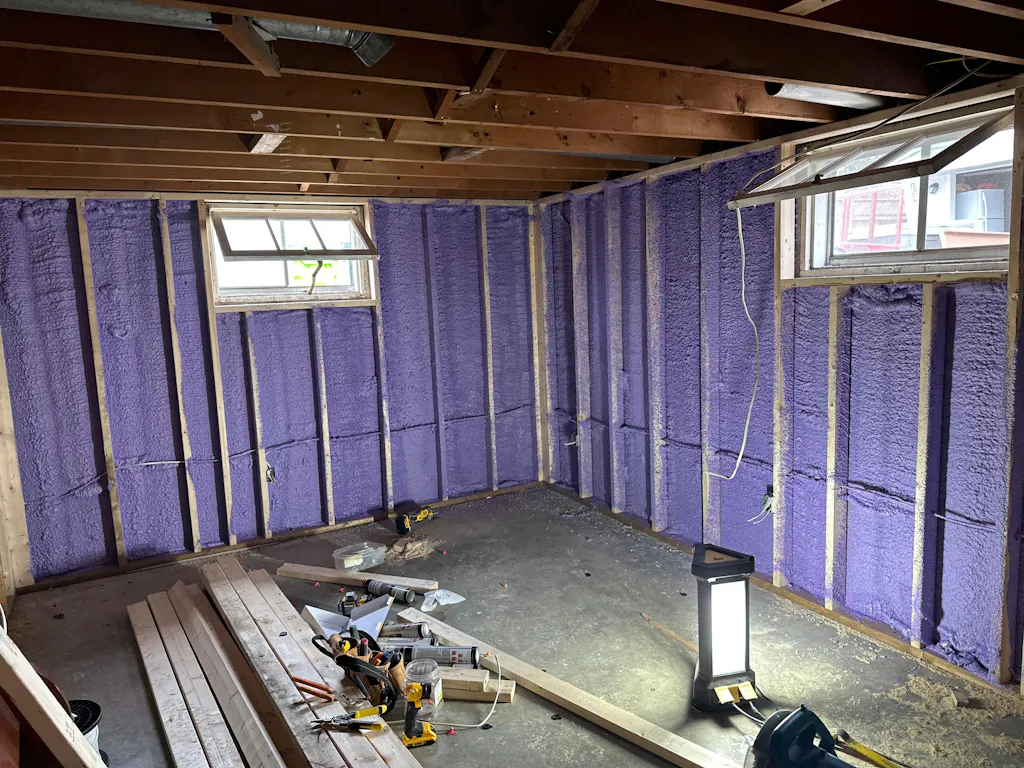
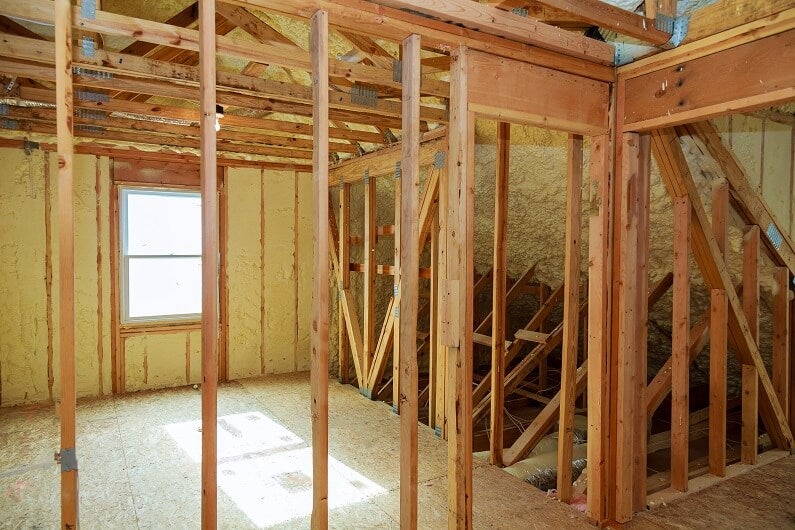
Insulating Your Attic with Spray Foam
One popular DIY project is insulating the attic with spray foam. This not only boosts energy efficiency but also adds to your home's comfort. It's a smart move for any homeowner looking to invest in their house.
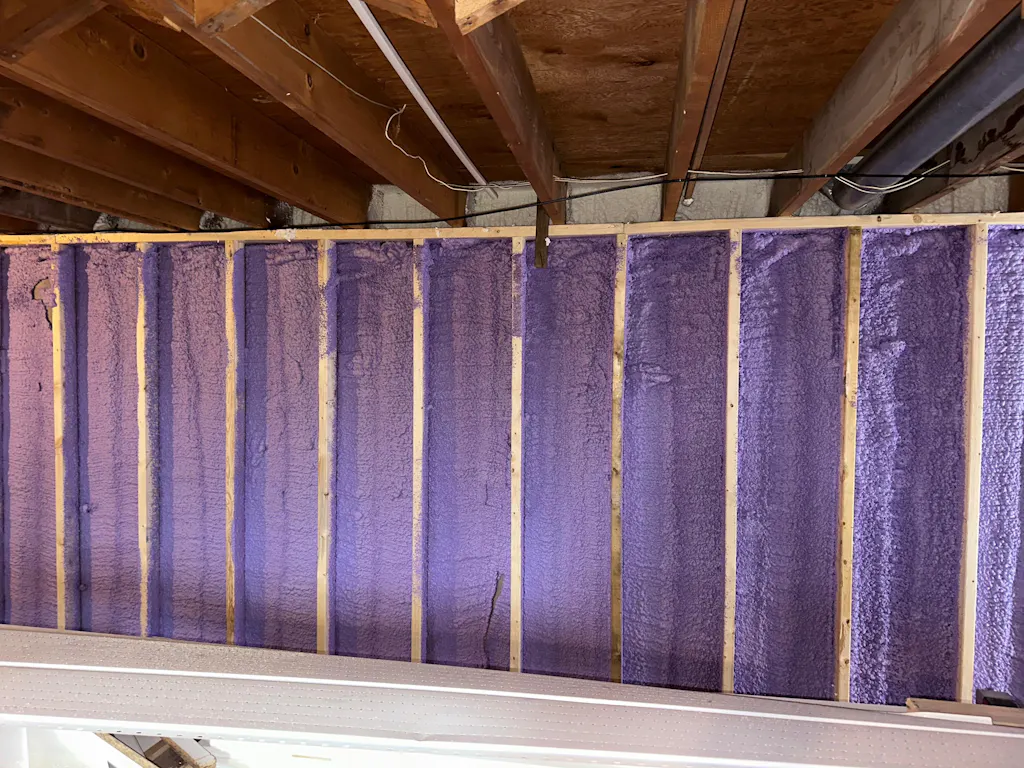
Choosing the Right Type of Foam
The best foam for your attic depends on the climate, attic size, and your budget. Closed-cell spray foam stands out because it offers top-notch insulation and seals the area tightly.
Installation Tips for Attic Insulation
Here are some essential tips for insulating your attic with spray foam:
1. Seal any air leaks first. Caulk or sealant can help close gaps in your attic's floor and walls. Also, seal gaps around items like electrical wires or plumbing.
2. Don't forget to insulate the attic hatch. This step is crucial for stopping air leaks and cutting energy waste.
3. Keep your attic well-ventilated. Good ventilation helps avoid moisture problems which can lead to mold or mildew.
4. Always follow the foam's manufacturer's instructions. This ensures you mix and apply the foam correctly. VB Insulation provides good instructions for their spray foam products.
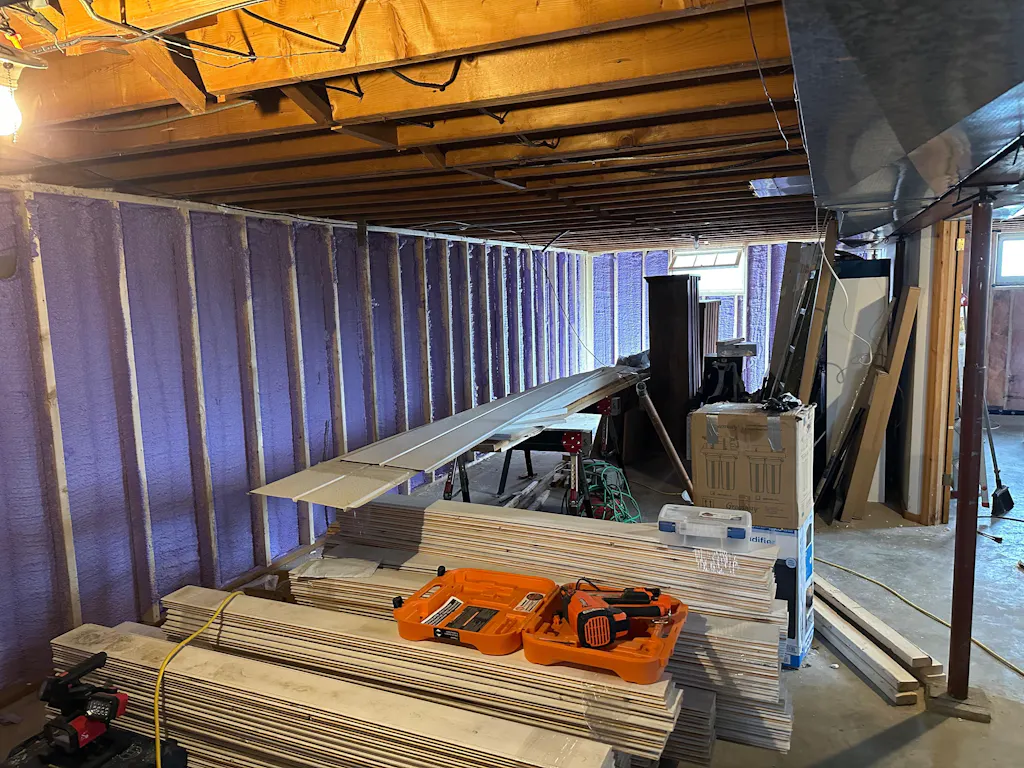
Basement and Crawl Space Insulation
Vega Bond V200 Insulation Kit is great for more than just your attic. It's also a top pick for basements and crawl spaces. An insulated basement and crawl space make your home more energy efficient. They cut down on moisture and make living spaces cozy.
Preparing the Area
Getting your basement or crawl space ready for spray foam insulation is key. First, make sure the area is clean and dry. That means removing debris and dirt. Next, fix any sources of water leaks to stop mold growth.
- Notice the surface: Take away dirt, debris, and any moisture from walls, floors, and other areas you're insulating.
- Handle moisture problems: Repair leaks and moisture issues to keep mold away.
- Seal air leaks: Close up foundation, wall, and floor gaps and cracks with caulk or sealant.
- Check ventilation: It's important to have good airflow to avoid dampness and keep the air healthy.
Applying Spray Foam in Basements and Crawl Spaces
Here's how to apply spray foam insulation in basements and crawl spaces:
- First, measure and plan where you'll apply the foam. Make sure you have a clear idea of how to use it.
- Next, mix and put on the spray foam. Always follow the maker's guidelines for the best results.
- After the foam expands, trim off extra parts and make the surface even. A utility knife works well for this.
- Last, seal up any leftover small gaps with a caulking gun. A little extra sealing helps make the insulation perfect.
Air Sealing with Spray Foam Insulation
Spray foam insulation does more than keep your home warm. It can also seal off any leaks in the air. This is key to making your home use less energy and feel more comfortable.
Identifying Air Leaks
First, we need to find where the air is leaking. Look at places like around windows and doors. Also, check electrical outlets and plumbing.
- Around windows and doors
- Electrical outlets and switches
- Plumbing and utility penetrations
- Attic hatches and recessed lighting
- Gaps in the foundation or framing
Sealing Techniques with Spray Foam
After finding the leaks, you can seal them with spray foam. Use these methods to stop the air from escaping:
- Apply spray foam around windows, doors, and other penetrations. Just aim the spray foam and fill in the gaps. This makes these areas airtight.
- Seal attic hatches and recessed lighting. Put spray foam in any gaps. This stops the cold air from getting in.
- Seal the rim joist in the basement or crawl space. Spray foam stops air from leaking where your floor meets the wall.
Cost-Effective Insulation Solutions
Estimating Costs
DIY spray foam insulation is cheaper than hiring pros. But, you need to think about its possible costs and things to keep in mind. Costs for a DIY project change based on the area size, spray foam type, needed tools, and professional help or special gear.
On average, a project's cost falls between $0.50 and $1.50 for each square foot. Make sure to do your homework. Compare products from well-known brands like VB Insulation for the best deal.
DIY vs. Professional Installation
DIY spray foam insulation is a good choice for many. Yet, some situations call for a pro. Places like cathedral ceilings or finished walls might be too tricky to do alone. They need special tools or skills to install properly.
Doing it wrong can be dangerous. Pros have the right training and gear to stay safe. Also, getting professional help might be the only way to keep your product's warranty valid.
Conclusion
DIY spray foam insulation is a great choice for homeowners wanting to boost their home's efficiency. It can be a budget-friendly and effective solution. You'll improve your house's energy use, comfort, and air quality.
It's important to know the benefits and types of spray foam. Plus, the steps for getting ready and installing it are crucial. This knowledge will help you confidently take on your project.
Installing it in areas like the attic, basement, or crawl space is beneficial. Using spray foam from trusted brands, such as VB Insulation, helps seal air leaks and improves your home's comfort. You'll need the right tools and materials, and to take safety measures seriously.
Good planning and careful work are vital for a successful project. Follow the instructions from the manufacturer closely. This way, you'll see the benefits over time with better energy use and a cozy home.
Don't hesitate to start your DIY spray foam project. It's a great way to make your home more comfortable and cost-effective.
FAQ
What are the main benefits of using spray foam insulation?
Spray foam insulation has several key benefits. It boosts energy efficiency and comfort in your home. By sealing tight, it also makes your space more durable and improves air quality inside.
It's great for lowering your energy bills by keeping your home warmer in winter and cooler in summer. No more dealing with drafts or uncomfortable rooms!
What are the different types of spray foam insulation?
Two kinds of spray foam insulation are open-cell and closed-cell. Open-cell is lighter and cheaper, making it good for easy projects. However, closed-cell spray foam is denser and more effective at sealing air and moisture, but it costs more.
What safety precautions should I take when working with spray foam insulation?
Working safely with spray foam is very important. Always wear the correct protective gear and work in a well-ventilated space. Make sure it's far from sparks or flames. Also, follow the given instructions and clean up properly when you're done.
What tools and materials do I need for a DIY spray foam insulation project?
To tackle spray foam insulation, you'll need some specific items. Get yourself a kit, an applicator gun, and some basic tools like a tape measure and a knife. Don't forget the protective gear. For big projects, polyethylene sheets come in handy, along with a caulk gun and sealant for air tightness.
How do I choose the right type of spray foam for my attic insulation project?
Closed-cell spray foam is often the best for attics. It offers great insulation and seals the space from air getting in or out. Make sure your attic's air leaks are sealed well before you apply the foam. Proper ventilation is also key to avoiding moisture issues.
How do I prepare my basement or crawl space for spray foam insulation?
Before using spray foam in these areas, take a few important steps. Clean the space, fix any moisture issues, and seal up leaks. Good ventilation is a must. Doing these steps right will ward off mold and help the foam stick better.
How can I use spray foam insulation to effectively seal air leaks in my home?
To stop air leaks, first, find their sources like windows and doors. Then, with the foam applicator, seal these areas tightly. It blocks small entry points and keeps your home’s temperature stable.
How much does a DIY spray foam insulation project typically cost?
The price for a DIY spray foam job varies by several factors. The size of your project, the foam type, and the tools needed all play a role. Expect to spend between $0.50 and $1.50 per square foot on average. For more challenging spots, you might want to hire a professional.