Have you ever considered saving money on insulation for your home? DIY spray foam insulation is popular among homeowners wanting to cut energy costs. Can you really buy and apply this advanced insulation on your own?
With rising energy prices, more folks are looking at DIY insulation solutions. Spray foam insulation is a top pick for making homes more energy-efficient. But before diving into this project, know what you're getting into.
Though saving on professional installation sounds good, DIY spray foam insulation has its hurdles. Safety and correct application are key. Think carefully before deciding if this is a project for you.
Key Takeaways
- DIY spray foam insulation can be a cost-effective option for home improvement
- Proper safety measures are critical when handling spray foam materials
- Understanding the types of spray foam and application techniques is essential
- DIY kits are available but may have limitations compared to professional-grade equipment
- Weighing the pros and cons is crucial before deciding to tackle this project yourself
Understanding Spray Foam Insulation: What Is It?
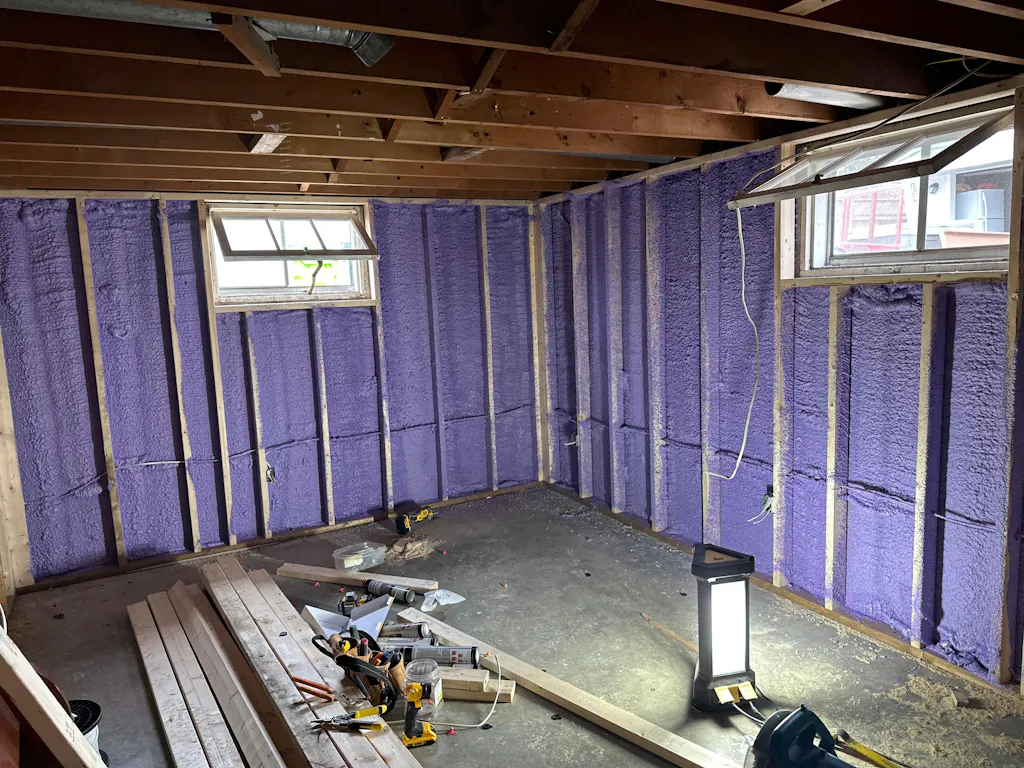
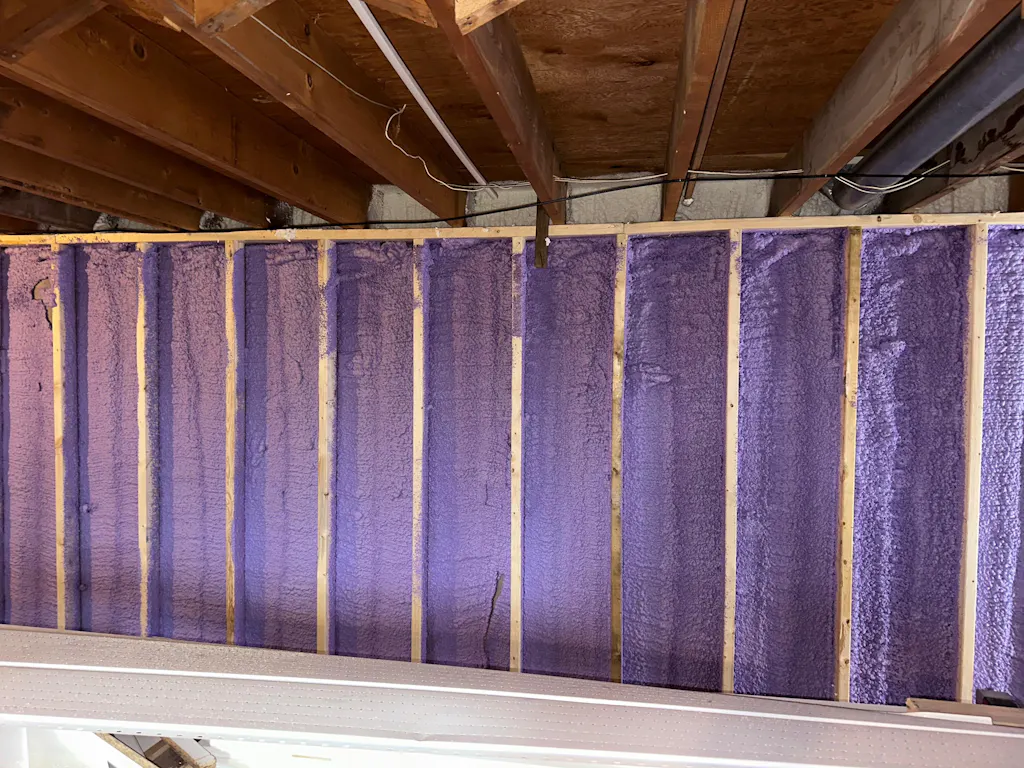
Spray foam insulation is a modern way to insulate homes. It uses materials that expand when applied, creating a strong barrier against air and moisture. The foam starts as a liquid and quickly turns into a solid.
Types of Spray Foam Insulation
There are two main types of spray foam insulation, each suited to different needs such as open-cell and closed-cell foam
- Open-cell foam: Lighter and more flexible
- Closed-cell foam: Denser and offers a higher insulation R-value
Benefits of Spray Foam Insulation
Spray foam insulation has many benefits:
- Superior air-sealing insulation
- High insulation R-value
- Moisture barrier
- Reduces energy bills
- Improves indoor air quality
How Spray Foam Insulation Works
Spray foam insulation expands and fills gaps, creating an airtight seal that stops heat from moving around. Its tiny cells trap air, slowing down heat movement and boosting the insulation's R-value.
| Property | Open-Cell Foam | Closed-Cell Foam |
|---|---|---|
| Density | 0.5-0.8 lbs/ft³ | 1.7-2.0 lbs/ft³ |
| R-value per inch | 3.6-3.8 | 6.0-7.0 |
| Air barrier | At 3.5 inches | At 1-1.5 inches |
| Water vapor permeability | High | Low |
The DIY Approach: Pros and Cons
More homeowners are taking on spray foam insulation projects themselves to save money. This method has its ups and downs for those looking to install insulation by themselves.since the overall results depend on the advantages and drawbacks of spray foam insulation and how well the material is applied.
Doing it yourself can cut down on costs by avoiding labor fees. Homeowners also get the joy of finishing projects on their own and learning new skills.
However, spray foam insulation requires special knowledge and tools. If applied incorrectly, it might not work well or harm your home. Safety is a big concern, as you must wear the right gear and ensure good airflow when working with chemicals.
| Pros | Cons |
|---|---|
| Cost savings | Requires specialized knowledge |
| Flexibility in scheduling | Potential for mistakes |
| Personal satisfaction | Safety risks |
| Learning new skills | Equipment investment |
Think carefully before starting a DIY spray foam insulation project. Consider your skills, time, and the cost of the needed gear. For big or tricky projects, hiring a pro might be the best and most reliable option.
Can You Buy Spray Foam Insulation and Do It Yourself?
Yes, you can buy spray foam insulation kits for DIY projects. These kits are perfect for homeowners who want to insulate their homes themselves. Let's look at the options and what you should know when using these products.
Availability of DIY Spray Foam Insulation Kits
Spray foam Insulation kits for homeowners are easy to find at home improvement stores and online. They come in various sizes for different projects. They're great for small to medium-sized jobs like insulating attics, crawl spaces, or rim joists.
What's Included in a Spray Foam Insulation Kit
A typical spray foam insulation kit has:
- Two-part foam chemicals
- Dispensing gun
- Spray nozzles
- Hoses
- Protective gear
- Instructions
Cost Comparison: DIY vs. Professional Installation
Let's look at the costs of spray foam insulation for DIY and professional installation:
| Aspect | DIY Kit | Professional Installation |
|---|---|---|
| Cost per square foot | $1 - $2 | $3 - $5 |
| Equipment needed | Included in kit | Professional-grade |
| Time investment | High | Low |
| Skill level required | Moderate | Expert |
DIY kits can save money but require time and skill. Professional installation is more expensive but ensures quality. Consider your budget, time, and skills when deciding between DIY and professional spray foam insulation.
Essential Tools and Equipment for DIY Spray Foam Insulation
Starting a DIY spray foam insulation project requires the right tools and supplies. Let's examine the key equipment you'll need for a successful project.
A typical DIY kit has many supplies, but some items you'll need to buy separately. Here's a list of the must-have tools for spray foam insulation:
- Spray foam gun
- Protective suit
- Safety goggles
- Respirator mask
- Chemical-resistant gloves
- Mixing paddle
- Utility knife
- Tape measure
- Plastic sheeting
Choosing the right equipment for spray foam insulation is crucial. Invest in quality tools for the best results. Proper preparation and the right supplies are essential for a successful DIY insulation project.
| Tool | Purpose | Included in Kit? |
|---|---|---|
| Spray foam gun | Applies insulation | Yes |
| Protective suit | Shields skin from chemicals | Yes |
| Safety goggles | Protects eyes | Yes |
| Respirator mask | Filters harmful fumes | No |
| Utility knife | Trims excess foam | No |
Step-by-Step Guide to DIY Spray Foam Insulation
Starting a spray foam insulation project at home needs careful planning and doing it right. This guide will help you through the steps. It ensures you get the best results when insulating your home.
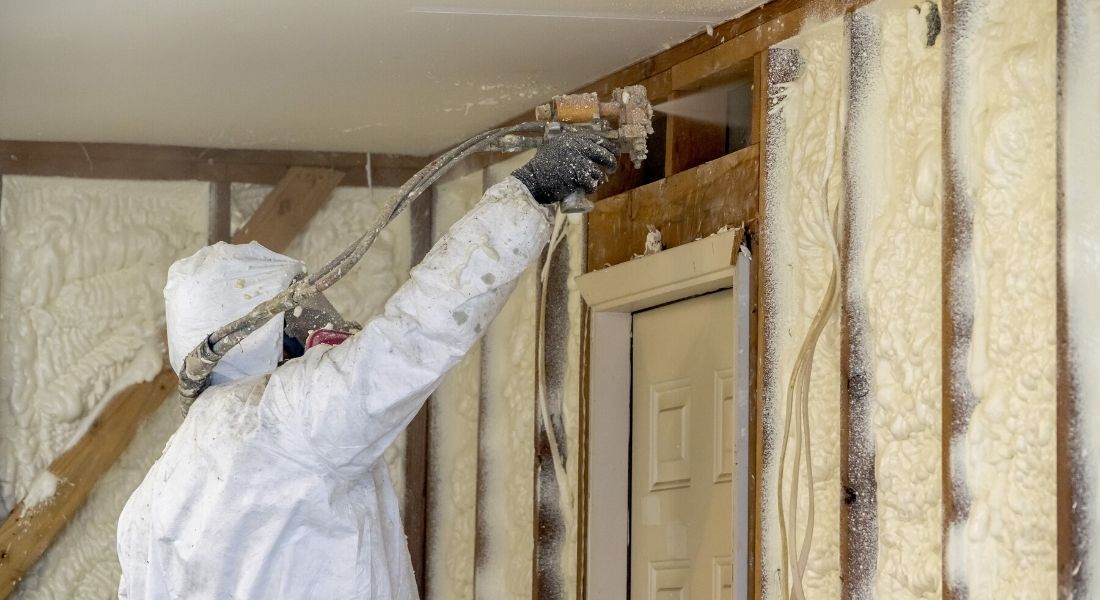
Preparation and Safety Measures
First, collect all the tools and safety gear you need. Please make sure the work area is clear and cover surfaces to protect them. Wear a respirator, goggles, and gloves for safety.
Application Techniques
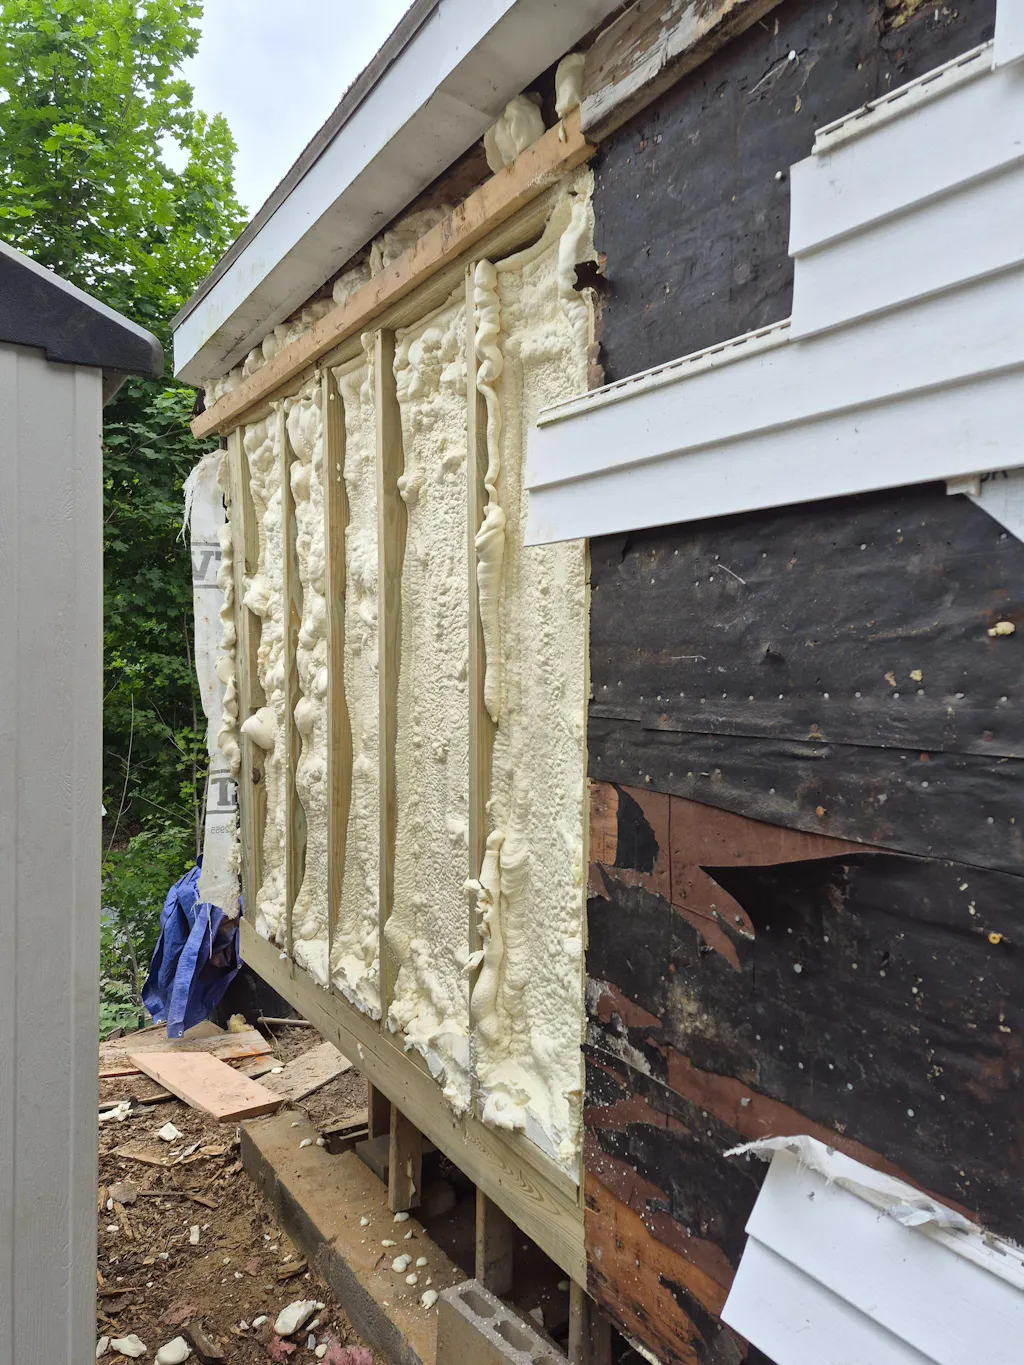
Start insulating attics from the bottom up. Apply spray foam in thin, even layers to avoid drips. For walls, begin at the bottom and move up in a side-to-side way. Keep a steady distance from the surface for even coverage.
| Area | Technique | Tips |
|---|---|---|
| Attics | Bottom-to-top layering | Use thin layers to prevent dripping |
| Walls | Side-to-side motion | Maintain 6-8 inches distance from surface |
| Corners | Circular motion | Ensure complete coverage in tight spaces |
Post-Application Care
Let the foam dry completely before trimming any extra. Clean your tools well after using them. Check the insulated areas for any gaps or spots you missed. Fix any problems quickly to keep your home energy-efficient.
Common Challenges and How to Overcome Them
DIY foam insulation installation can be tricky. Many homeowners need help tackling this project. Let's explore some common issues and their solutions.
Uneven application is a frequent problem. To avoid this, practice your technique on a test surface first. Move the spray gun at a steady pace, maintaining a consistent distance from the target area.
Overexpansion can also cause headaches. Read the product instructions carefully and apply thin layers. This approach allows better control and prevents excessive growth.
Reaching tight spots can be challenging. Use extension wands or nozzles to access hard-to-reach areas. These tools help ensure thorough coverage when sealing gaps and cracks.
| Challenge | Solution |
|---|---|
| Uneven application | Practice on test surface, maintain steady pace |
| Over-expansion | Apply thin layers, follow instructions |
| Hard-to-reach areas | Use extension tools |
| Temperature sensitivity | Check weather, adjust room temperature |
Temperature sensitivity can affect foam performance. Check weather forecasts and adjust room temperature before starting. This step ensures optimal curing conditions.
For best results, consult insulation installation guides. These resources offer valuable tips on overcoming common obstacles and achieving professional-quality outcomes in your DIY project.
Why VB Insulation Is the Right Supplier for DIY Spray Foam Insulation
Not all spray foam insulation products are created equal—especially for DIY projects. Product quality, ease of application, and supplier support can directly affect insulation performance and long-term results. VB Insulation provides professional-grade spray foam solutions designed specifically to meet the needs of DIY homeowners, combining performance, usability, and value to help you insulate more efficiently and with confidence.
-
Professional-grade spray foam with open-cell and closed-cell options
-
DIY-friendly formulations for easier application and consistent results
-
High R-value performance for improved air sealing and energy savings
-
Cost-effective pricing, including bulk purchase benefits
-
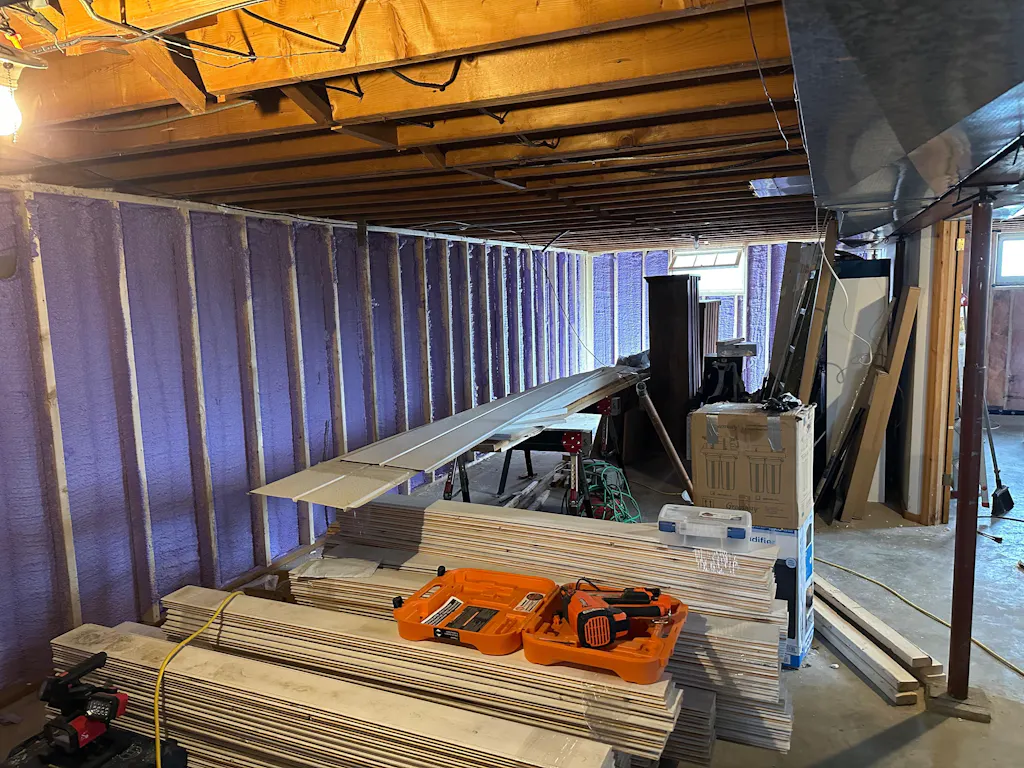
Versatile applications for attics, basements, walls, crawl spaces, and gaps
-
Nationwide delivery with convenient shipping options
Safety Precautions for DIY Spray Foam Insulation

When you're doing a DIY spray foam insulation project, safety comes first. It keeps you safe from health risks and helps you install it right. Let's look at the key safety steps you must take.
Protective Gear Requirements
Wearing the right gear is a must. A spray foam insulation mask is essential. It keeps you from breathing in bad fumes. Here's what you need:
- Full-face respirator with organic vapor cartridges
- Chemical-resistant coveralls
- Nitrile gloves
- Safety goggles
- Protective footwear
Ventilation Considerations
Good airflow is crucial. Open windows and use fans to bring in fresh air. If you're in a closed area, think about getting a portable venting system to clear out fumes.
Handling and Storage of Materials
It is very important how you handle and store the foam. Keep chemicals in a cool, dry spot out of the sun. Make sure containers are closed when not being used. Always mix and apply the foam as the maker says.
|
Safety Measure |
Importance |
Implementation |
|
Protective Gear |
Critical |
Wear full gear before starting |
|
Ventilation |
High |
Ensure proper airflow |
|
Material Handling |
Important |
Follow manufacturer guidelines |
By taking these safety steps, you'll make your DIY project safer. If you need more clarification on any part of the job, it's smart to get help from pros.
FAQ
Can you really buy spray foam insulation and do it yourself?
Yes, you can buy DIY spray foam insulation kits and work on insulation projects by yourself. But it's important to know the process, have the right tools, and follow safety rules.
What are the benefits of spray foam insulation?
- Energy efficient: Cuts heating and cooling costs.
- Air sealing: Blocks drafts and leaks.
- Moisture resistant: Helps prevent mold and dampness.
- Sound reducing: Lowers outside noise.
- Durable: Lasts for years without sagging.
What's included in a DIY spray foam insulation kit?
Kits usually have the spray foam insulation, a gun or sprayer, and simple instructions. You might also need to get protective gear, a ladder, and ventilation tools separately.
How much does DIY spray foam insulation cost compared to professional installation?
DIY spray foam insulation usually costs less upfront because you’re not paying for labor. Still, professional installation tends to give better, longer-lasting results and helps you avoid the headaches that can come from a bad application.
What tools and equipment are essential for DIY spray foam insulation?
You'll need a spray foam gun or sprayer, protective gear like a respirator, goggles, and gloves, a ladder or scaffolding if necessary, and good ventilation tools. Always follow safety rules carefully.
How do you prepare for and apply spray foam insulation yourself?
- Clean the area: Remove dust, dirt, and debris to help the foam stick properly.
- Seal openings: Close any gaps or holes to ensure even coverage.
- Ensure ventilation: Keep air flowing to stay safe while applying the foam.
- Follow instructions: Apply the foam as directed by the manufacturer.
- Let it cure: Allow the foam to harden completely before trimming or covering it.
What are some common challenges with DIY spray foam insulation?
You might need help with getting even coverage, avoiding foam expansion, reaching small areas, and ensuring the foam cures right. Plan well, practice, and be patient to overcome these problems.
What safety precautions should be taken when working with spray foam insulation?
Always wear protective gear, including a respirator, goggles, and gloves. Make sure the area is well-ventilated, and follow all guidelines for handling and storing materials. If you need more clarification, get professional help.