Are you thinking about a DIY project to insulate your home with spray foam? You're probably asking, "Can I do this myself?" The answer is yes, you can. But there are a few key things to know first. Doing it yourself saves money, yet safety is a top priority.
This article is here to guide you through your DIY spray foam project. We'll share tips on home insulation and best practices. Plus, we have budget-friendly advice for all skill levels. Our goal is to help you get pro-level results safely.
Key Takeaways:
- DIY spray foam insulation can be a cost-effective option for homeowners.
- Proper safety precautions are essential when undertaking spray foam insulation yourself.
- Home insulation tips and best practices can enhance the effectiveness of your DIY project.
- There are various cost-effective options available for those interested in DIY spray foam insulation.
- By following our tips and tricks, you can confidently tackle your spray foam insulation project and enjoy the benefits it offers for your home.
Benefits of DIY Spray Foam Insulation
DIY spray foam insulation can offer certain advantages, mainly for small-scale projects. However, for larger applications, the risks of improper installation and safety concerns often outweigh the savings. Below are the key benefits when DIY insulation is done on a limited scale.
Benefits of DIY Spray Foam Insulation:
-
Lower Labor Costs:
Doing the work yourself eliminates installation fees, making it more affordable for small jobs like sealing around windows or ducts. A better understanding of how spray foam performs as insulation can help decide whether a DIY approach is worth considering. -
Flexibility and Control:
Work at your own pace and on your own schedule, ideal for those managing multiple home improvement projects. -
Effective for Small or Hard-to-Reach Areas:
DIY kits are convenient for sealing narrow gaps and cracks that professional equipment may have difficulty accessing. -
Hands-On Learning Experience:
Great for homeowners interested in understanding insulation methods and gaining practical home improvement skills. -
Noise Reduction:
Spray foam helps keep outside noise to a minimum, creating a quieter home environment. The soundproof qualities of spray foam make it useful for spaces like bedrooms or home offices.
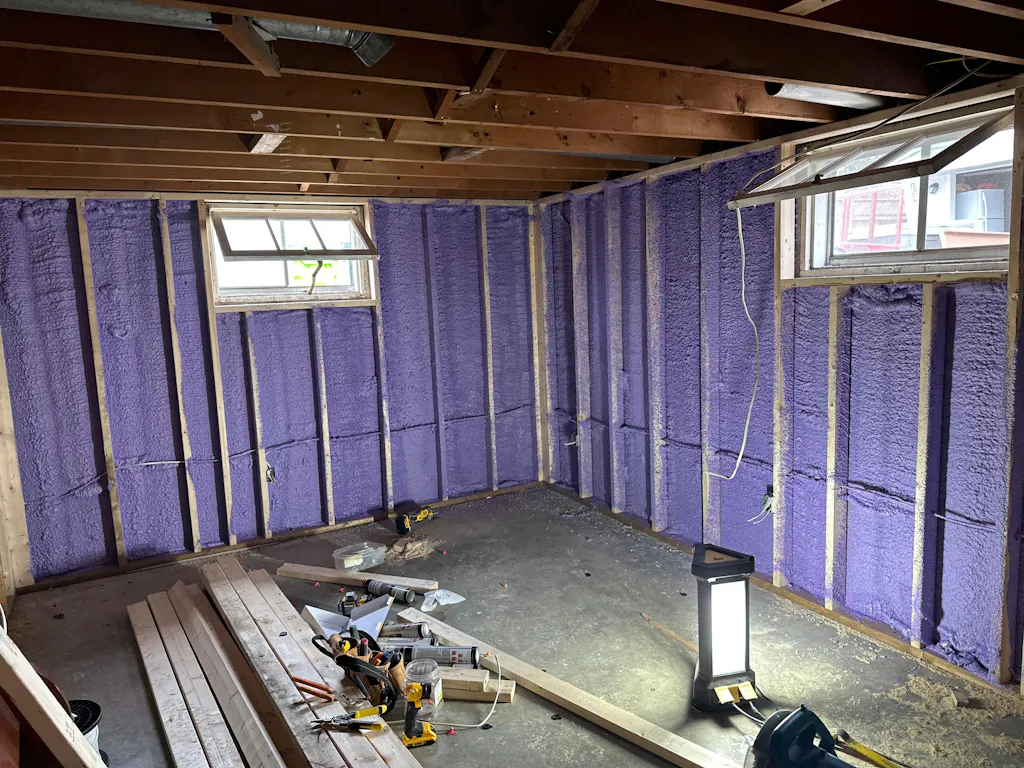
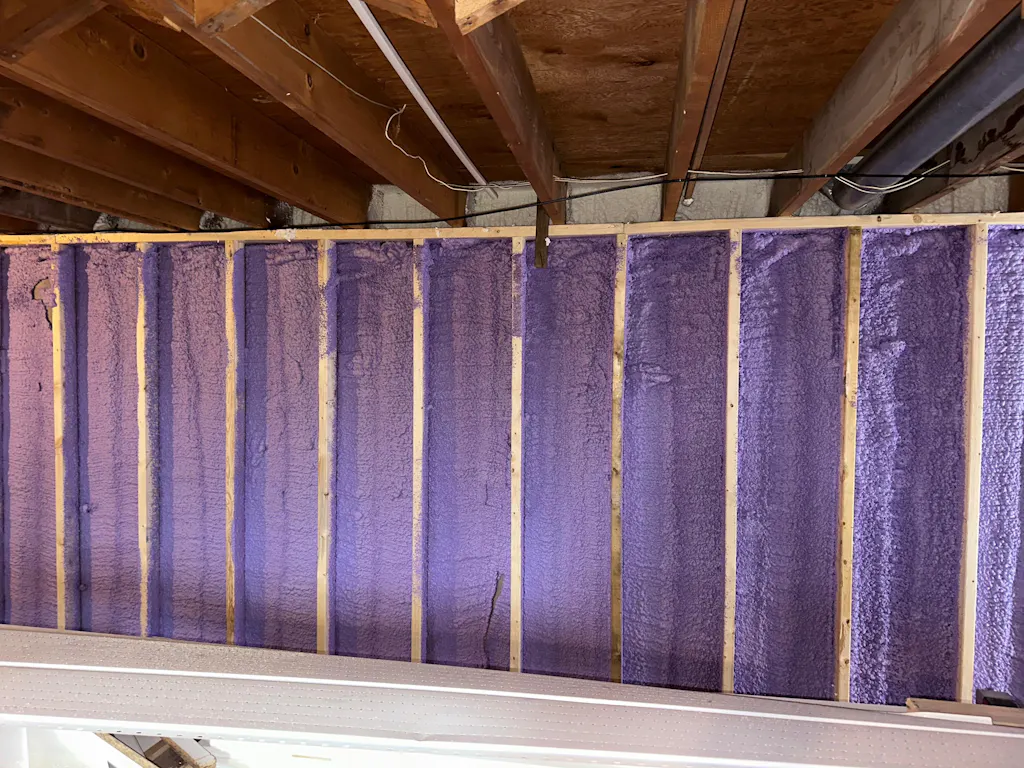
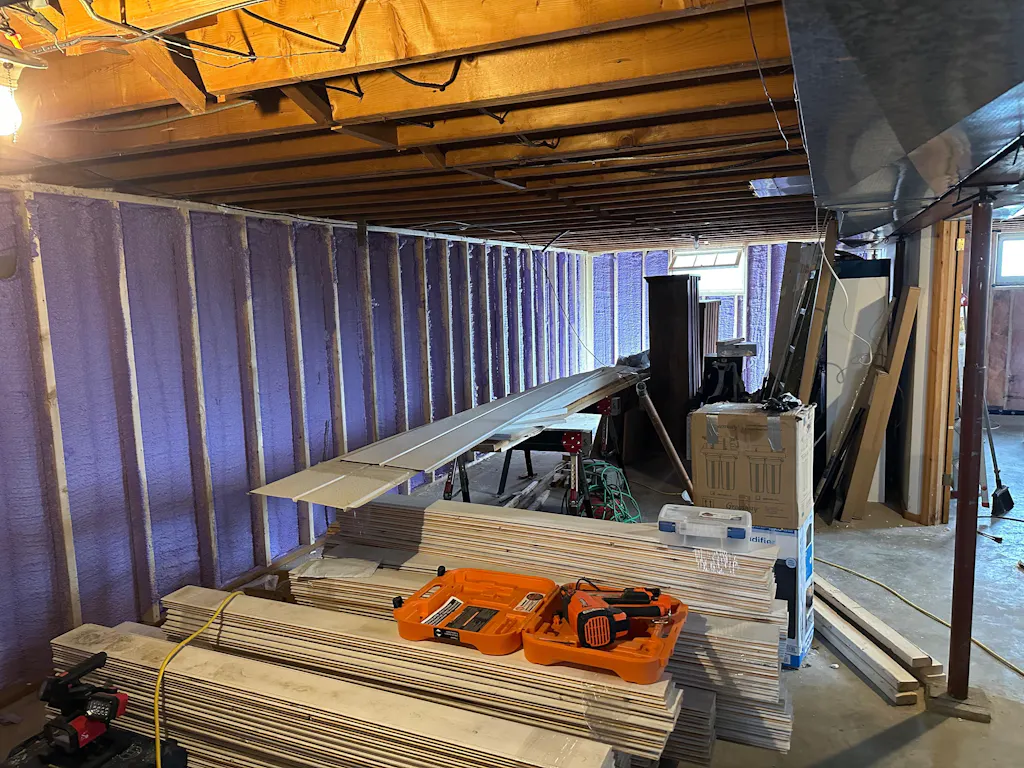
Step-by-Step Guide for DIY Spray Foam Insulation
Are you ready to take on a spray foam project? This guide will show you how. You'll learn to apply spray foam like a pro. It's great for any skill level, starting from the very beginning.
You'll get a step-by-step walkthrough from the start to the finish.
The Materials You'll Need:
- Spray foam insulation kit (Close cell Kit)
- Protective clothing (goggles, gloves, coveralls)
- Drop cloth or plastic sheeting
- Utility knife
- Expansion joints (if needed)
- Applicator gun
- Caulk gun
- Foam trimmer
- Sealant
Step 1: Prepare the Area
First, clean the space and remove any debris. Cover the spots you don't want foam on with a drop cloth or plastic sheet.
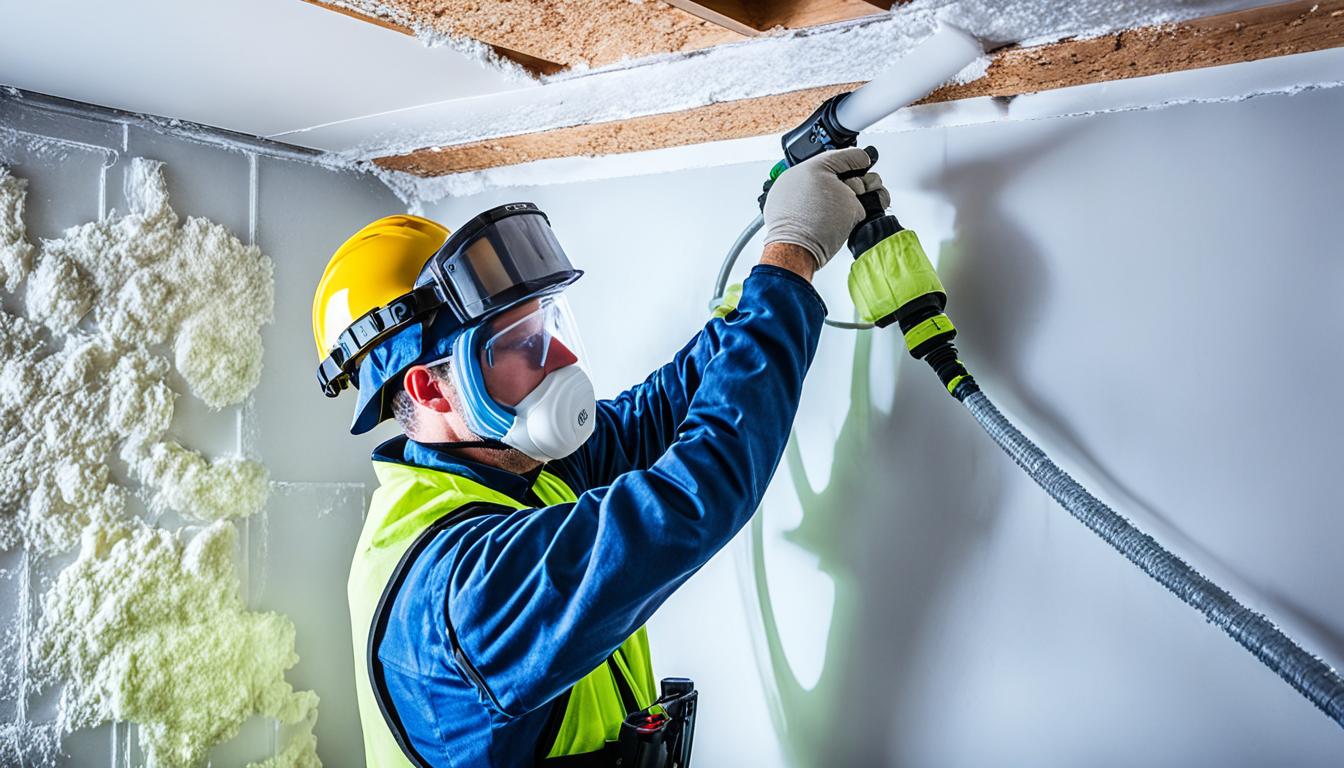
Step 2: Wear Protective Clothing
Now, put on your safety gear, including goggles, gloves, and coveralls. They'll keep you safe from irritation and fumes.
Step 3: Check the Temperature and Humidity
It's important to check the room's temperature and humidity to make sure they're right for the foam. This helps the insulation cure as well as possible.
Step 4: Set Up the Spray Foam Insulation Kit
Read the kit's instructions to set everything up. This includes the applicator gun and foam canisters. It's a key step before you start spraying.
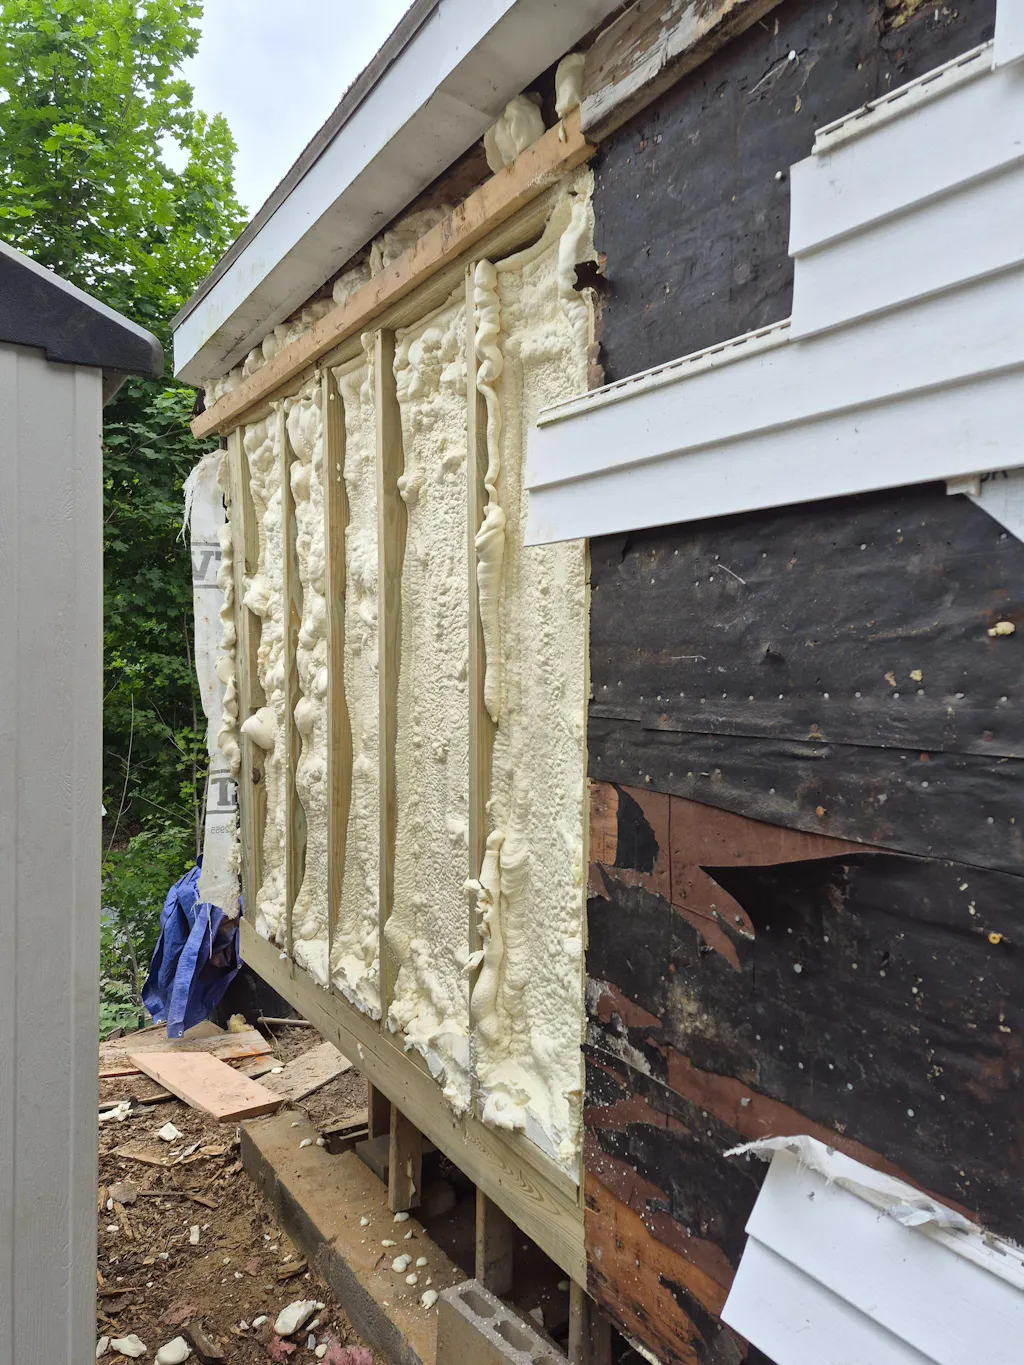
Step 5: Begin Spraying
Start by spraying foam in the corners and tight spaces. Then, move on to cover the whole area evenly. For good results, hold the spray gun at the right angle and a foot from the surface.
Step 6: Use Expansion Joints and Fill Gaps
If you find any gaps, fill them up with expansion joints or sealant. This step improves how well your insulation works.
Step 7: Trim Excess Foam
When the foam is dry, trim off extra bits with a foam trimmer or knife. This makes your insulation look neat and professional.
Step 8: Inspect and Clean Up
Check the area for any missed spots. Touch up where needed. After you're done, clean up and dispose of the used foam safely.
Follow this step-by-step guide, and you'll do great with your spray foam project. Remember to stay safe, be patient, and enjoy the work. You're making your home more energy-efficient and cozy.
Safety Precautions for DIY Spray Foam Insulation
Safety comes first, especially with DIY projects like spray foam insulation. It's key to keeping the process smooth and your home safe. Here are important safety tips for your DIY insulation work.
- Work in a Well-Ventilated Area
Before starting, make sure the place you're insulating is well-ventilated. Good airflow prevents harmful fumes from building up, keeping your work area safe.
- Wear Protective Gear
Wearing the right gear with spray foam insulation is a must. Put on safety goggles, a mask, gloves, and proper clothes to protect yourself. This prevents skin issues and other health risks.
- Read the Manufacturer's Instructions
Always read and follow the product's instructions before use. It is knowing how to apply it properly and safely to prevent accidents.
- Use Proper Application Techniques
Learning the right way to apply spray foam is crucial. Bad applications can cause problems or dangers. Practice on a small area first to get it right.
- Keep Fire Hazards in Mind
Remember, spray foam can catch fire when you apply it, so be careful. Keep flammable stuff away, cover up if necessary, and have a fire extinguisher close by.
- Ensure Proper Curing Time
Let the spray foam fully cure before touching it. Trying to finish too quickly can cause problems later on. It may work better if you're in a hurry.
- Dispose of Waste Properly
When you're done, clean up any insulation waste the right way. Check your local rules for how to get rid of the insulation properly.
Keep these safety steps in mind for a safer DIY insulation job. Safety always comes first, especially with home projects.
Tools and Supplies for DIY Spray Foam Insulation

To do a DIY spray foam insulation project well, having the correct tools and supplies is key. We will look at the needed equipment and the top spray foam insulation kits out there. With these tools, you can confidently start your insulation work.
The Essential Tools for DIY Spray Foam Insulation
The proper tools are crucial for excellent results in spray foam insulation. Here is a list of important tools:
- Spray Foam Insulation Kit: A high-quality spray foam insulation kit is crucial. Choose kits that cover a wide area and are known for good performance.
- Protective Gear: Always keep safe. Wear safety goggles, gloves, a mask, and the right clothes to avoid danger.
- Insulation Gun: You need a good insulation gun to apply the foam. Pick one that is sturdy and ensures an even flow.
- Extension Wand: For those tough, out-of-reach spots, an extension wand comes in handy. It is great for tight spaces like crawl spaces and attics.
- Foam Trimming Tool: Use a foam trimming tool to shape the foam after applying. This ensures a perfect fit in your space.
- Handheld Applicator: This tool is perfect for small jobs and fixing spots. It gives you more control over where the foam goes.
- Measuring Equipment: Measure tapes and rulers are used to apply the foam precisely. These ensure your foam goes where it should.
The Best Spray Foam Insulation Kits
Buying a top-notch spray foam insulation kit can make your DIY project easier and give better results. Here are some recommended kits:
- Vega Bond V600 Closed Cell Spray Foam: It's a complete kit for up to V600 board feet. It's very energy-efficient and quick to install.
- Vega Bond V200 Closed Cell Spray Foam: This kit is great for fast projects, thanks to its quick curing and good insulation properties.
- Vega Bond Purplecoat Single Component Foam: It's strong and has a high R-value, making it versatile for sealing gaps and insulating walls.
When picking a spray foam insulation kit, think about the size and needs of your project. Getting advice from an expert can also guide your choice.
With the right tools and the best kits, you're ready for a properly insulated and energy-saving home.
Cost-Effective DIY Spray Foam Insulation Options
Are you thinking about DIY spray foam insulation? It can make your home more energy-efficient and comfortable and save you money over time. We'll look at affordable ways to insulate your home and how to cut costs.
Consider the costs of DIY and pro insulation. Pros charge more, while DIY lets you save on labor. You might save a lot by doing it yourself.
Cost of DIY Spray Foam Insulation
DIY foam costs vary depending on project size and material quality. A kit for a small area could cost $300 to $600. Kits include everything you'll need for installation.
You might spend extra if the job is tough or in hard-to-reach places. More tools or gear could be needed, raising the price.
Cost-Saving DIY Spray Foam Insulation Tips
There are ways to keep DIY insulation costs down:
- Plan your project carefully: Figure out your home's need for insulation first. A good plan will avoid buying too much.
- Shop around: Check different places to get the best price on materials and tools.
- Keep it safe: Following safety rules avoids extra costs from accidents.
- Focus on key areas: Insulate places like attics and crawl spaces well to save more energy.
- Install well: A good job now saves on heating or cooling later.
- Look for incentives: You might get money back from the government or local programs that use energy-saving insulation.
These steps can lower the cost of your insulation project while maximizing energy savings.
We covered budget-friendly tips for DIY spray foam insulation. Next, we'll share advice to make your insulation project smoother and more successful.
DIY vs. professional spray foam application
|
Feature |
DIY Spray Foam |
Professional Spray Foam |
|
Cost |
Lower upfront cost for very small jobs, but risk of costly errors and waste. |
Higher upfront cost, but a quality job can lead to greater long-term energy savings. |
|
Project Size |
Only recommended for small, limited areas like sealing pipes or filling small gaps. |
Equipped for large, complex projects like insulating entire attics, basements, and walls. |
|
Expertise and Quality |
Inconsistent results and a high chance of installation errors, which reduce effectiveness. |
Consistent, high-quality application with specialized training and equipment. |
|
Safety |
High health risks from chemical exposure without professional PPE and ventilation. |
Strict safety protocols to protect homeowners and installers from chemical hazards. |
|
Longevity |
Potentially reduced lifespan due to incorrect application; no guarantee. |
Long-lasting installation, often guaranteed for the lifetime of the home. |
|
Warranty |
No warranty for the product or your installation. |
Many companies offer warranties and follow-up support for their work. |
DIY Spray Foam Insulation Tips and Tricks

Are you planning a spray foam insulation project? Knowing a few tips can help a lot. We aim to give you advice for great results. These insights work for newbies and those with some DIY experience.
- Prepare the Area
Get the spot ready before spraying foam insulation. Clean off debris and dust. A smooth surface helps the spray stick better, giving you the best effect.
- Wear Protective Gear
Safety is key when dealing with spray foam. Always wear goggles, gloves, and a mask. This keeps you safe from irritants and harmful chemicals in the insulation.
- Start with Small Areas
It's smart to practice on small spots first. This helps you get the technique down. Try less noticeable areas first to avoid big mistakes.
- Maintain Consistent Temperature
Spray foam is like a steady temperature while being applied. This ensures a good install. Keep the area at the right temperature for best results.
- Work in Layers
Applying spray foam in thin layers is best. It gives you more control and less shrinkage. Remember to follow the manufacturer's thickness tips.
- Use Proper Ventilation
Good airflow is vital when spraying foam insulation. It clears out smells and keeps you healthy. Open windows and use fans to move the air.
These DIY tips will set your insulation project up for success. Always focus on safety and follow best practices. And turn to pros if you get stuck. You can make your home energy-efficient and comfy with the right steps.
Conclusion
We're wrapping up our talk on DIY spray foam insulation. We trust you've learned a lot about this great way to insulate your house. With the safety info and step-by-step instructions we shared, you can take on insulation projects with confidence.
Foam insulation can save cash and improve your home. It keeps your home warm, stops drafts, cuts energy bills, and makes your space cozy a win for your wallet and the environment.
Safety first is key when insulating yourself. Always wear the right gear and use the best tools. There are some risks, but sticking to our safety tips will keep you safe.
FAQ
Can I do spray foam insulation myself?
Yes, you can do spray foam insulation yourself. It's crucial to follow safety tips. This ensures your project is both safe and successful.
What are some safety tips for DIY spray foam insulation?
Safety is key when tackling spray foam insulation on your own. Wear protective gear, ventilate well, and prevent contact with eyes and skin. Always closely follow the manufacturer's advice.
What are some home insulation tips?
Seal air leaks and insulate drafty spots to make your home more energy efficient. Spray foam works great for this. Use it in walls, attics, and basements for superior sealing.
What are the best practices for DIY spray foam insulation?
For DIY spray foam insulation, start with proper prep. Employ correct equipment and techniques. Apply the foam evenly and give it time to cure before touching or covering it.
What are some cost-effective spray foam insulation options?
To cut costs, consider DIY spray foam insulation kits. These kits include tools and materials and are often cheaper than pro services. It's a budget-friendly choice.
How do I apply spray foam insulation?
Begin by cleaning and preparing the area for spray foam insulation. Shake the canister before applying the foam with a steady back-and-forth motion. Let the foam cure before trimming any extra.
What are the risks of DIY spray foam insulation?
The risks of DIY spray foam include irritation to the eyes and skin and danger of inhalation. Proper ventilation and following safety rules are crucial. They help reduce these risks.
What tools and supplies do I need for DIY spray foam insulation?
For DIY spray foam insulation, gather foam cans or kits, an applicator gun, and protection gear. A utility knife and proper ventilation would also help.
How much does DIY spray foam insulation cost?
The price of DIY spray foam insulation changes with the project size and foam brand. DIY kits are usually between $200 and $500. They are a cheaper alternative to pro services.