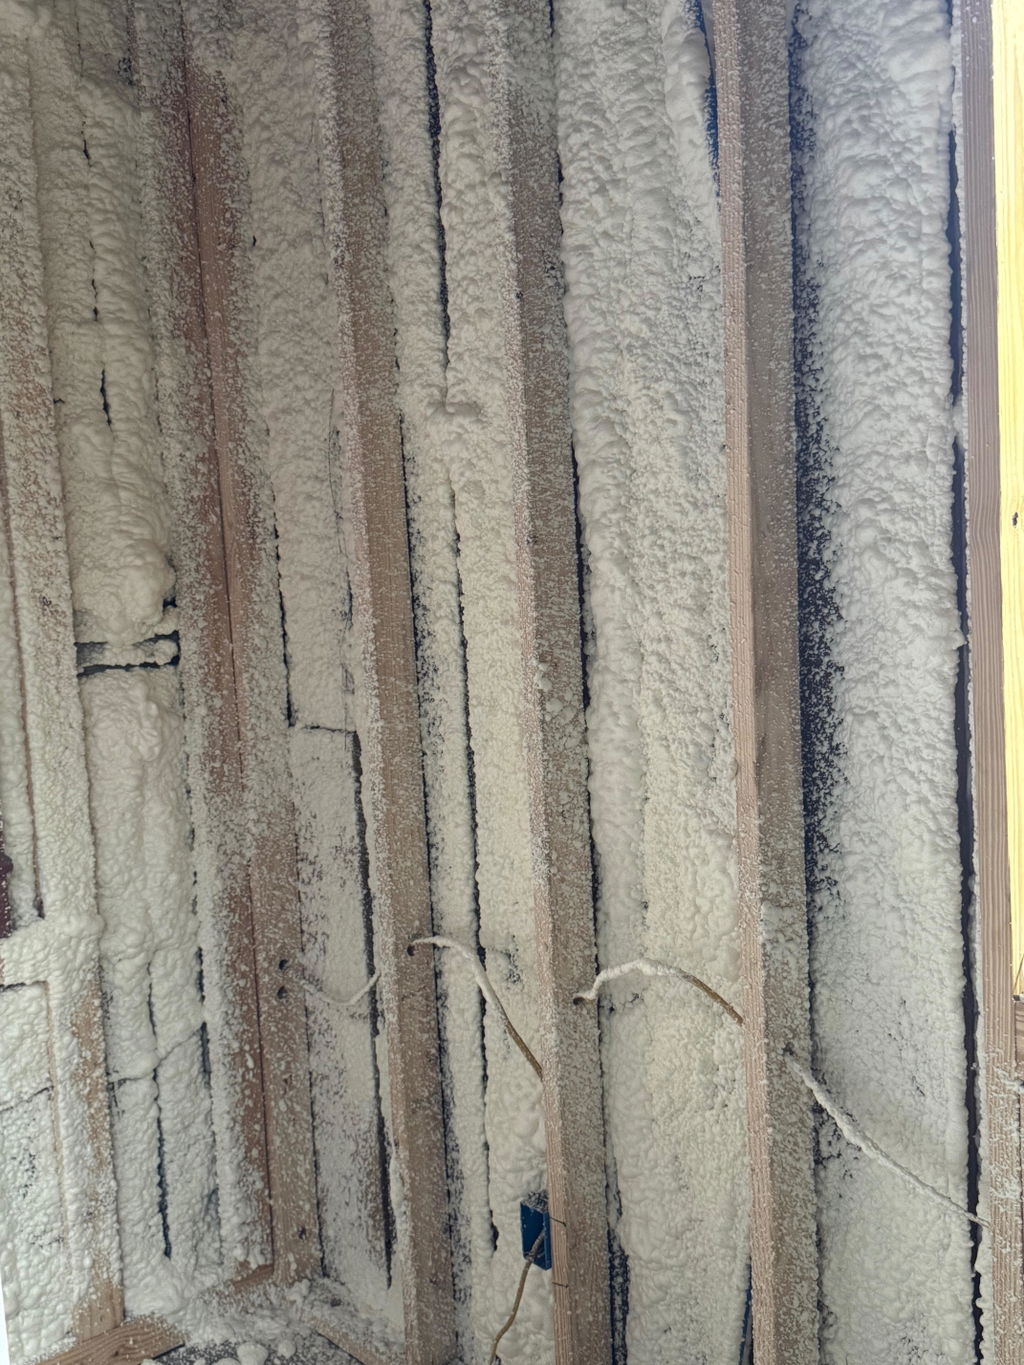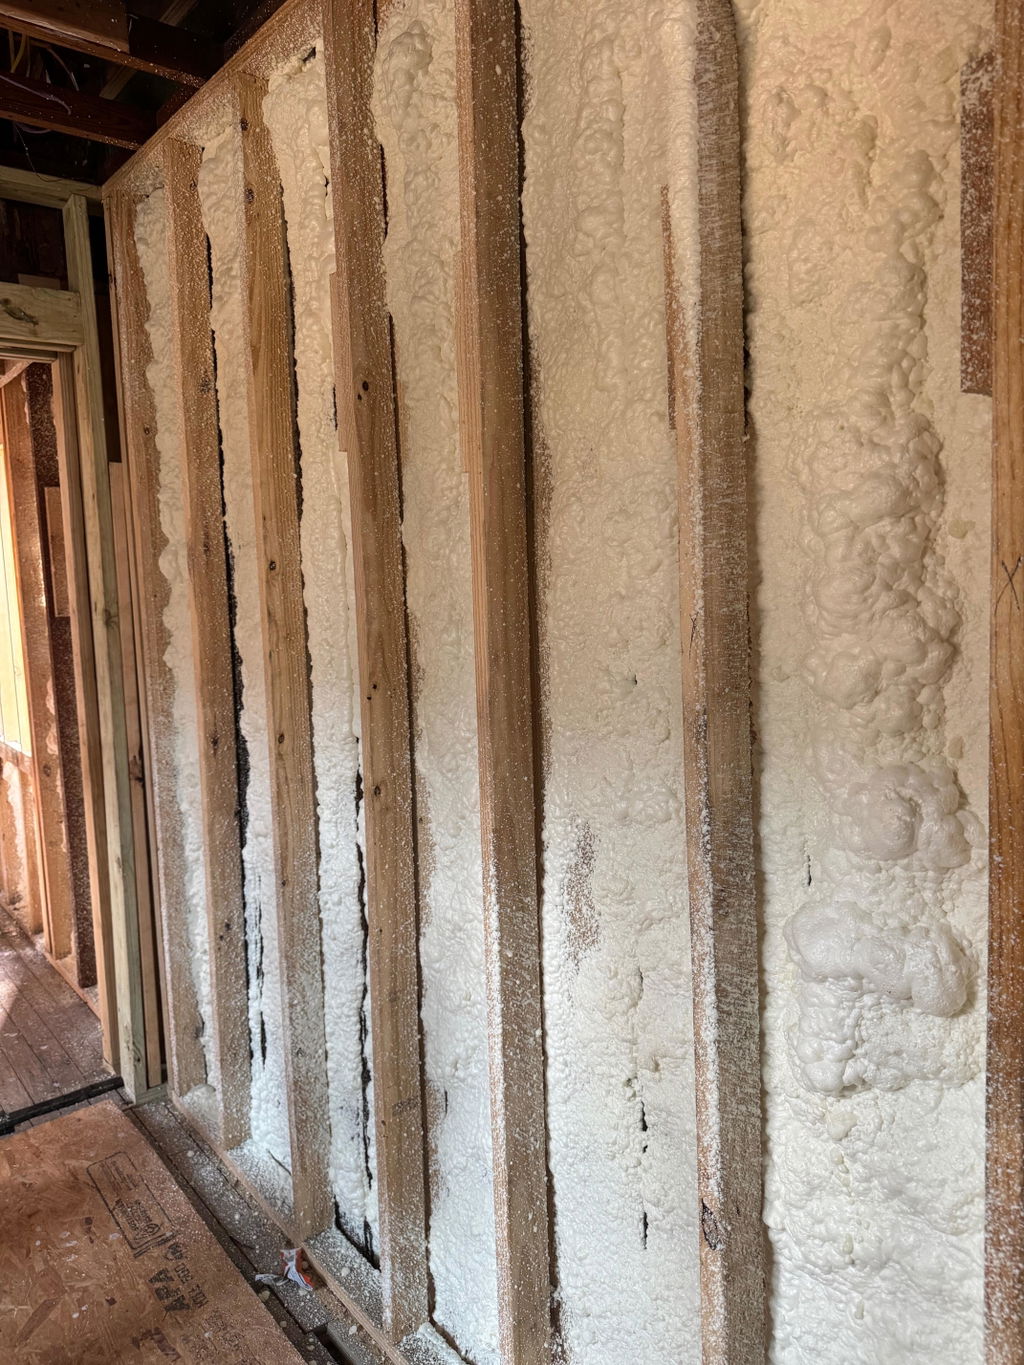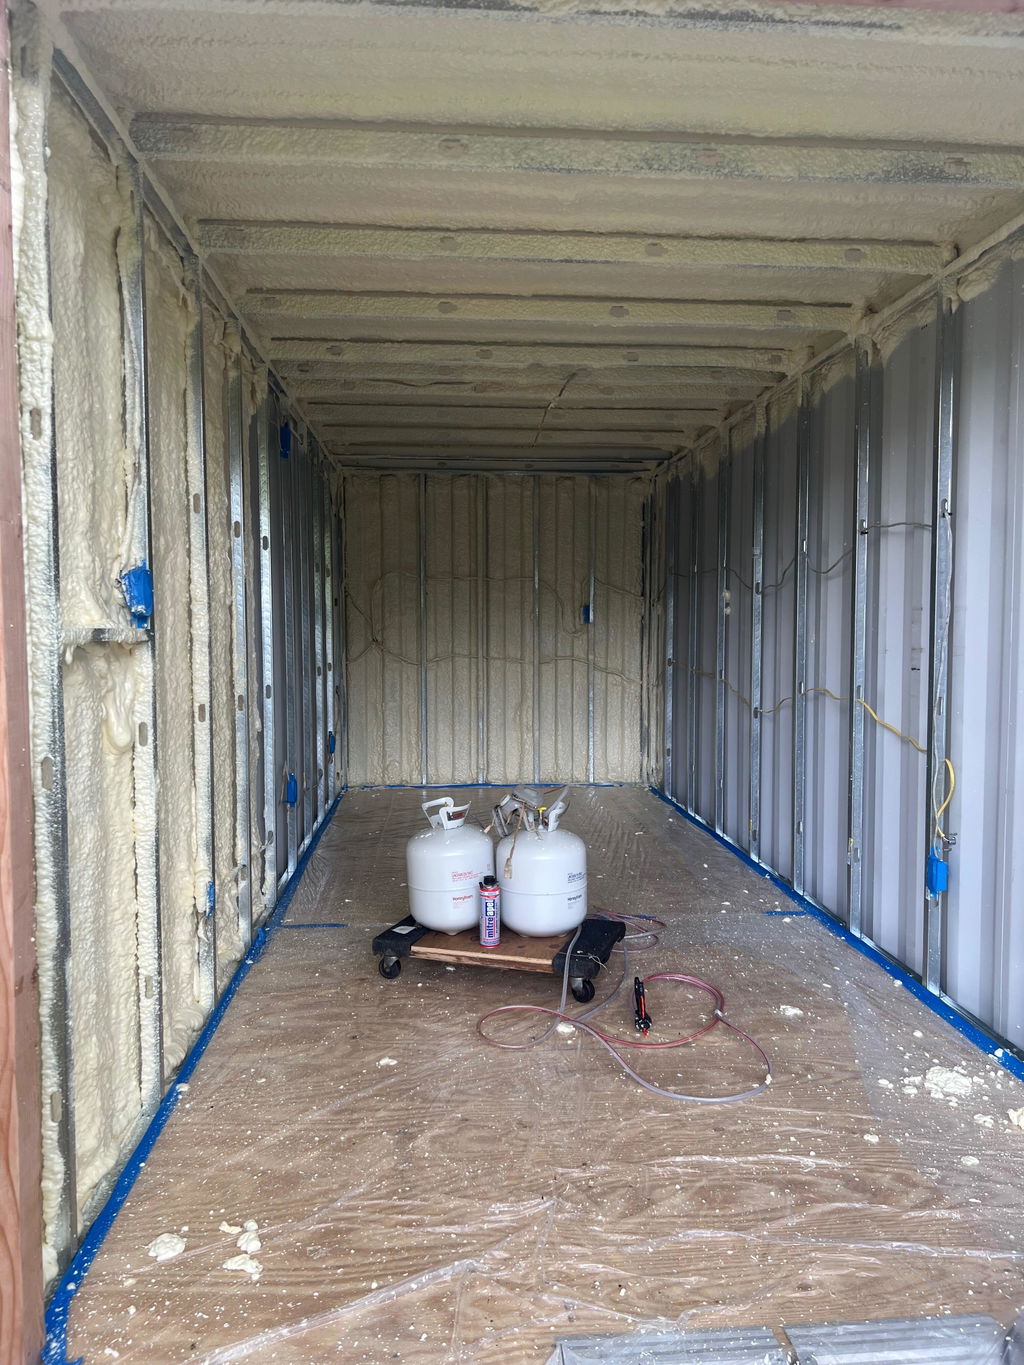
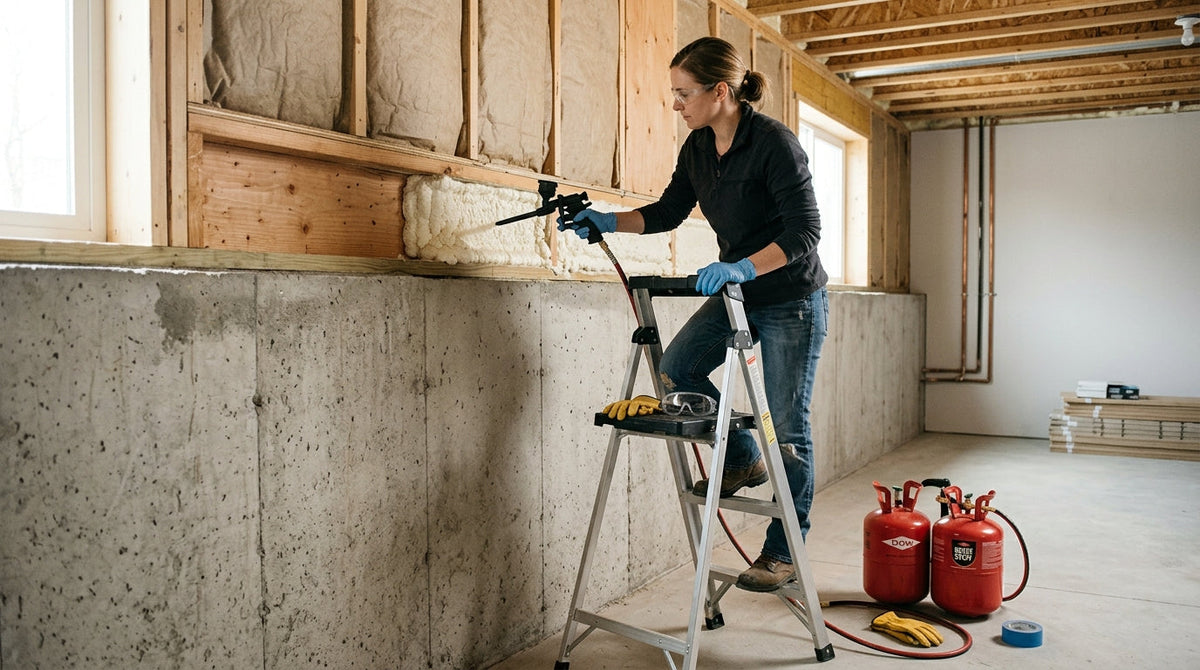
Cold floors, basement drafts, and rising heating or cooling costs often start with air leaks around the edge of the floor system. The rim joist is easy to miss because it sits above the foundation and behind floor framing.
When the rim joist is not sealed, outside air can enter through gaps around the sill plate, subfloor, pipes, and framing joints. In cold weather, warm indoor air can also reach cold wood and raise the risk of condensation.
Spray foam can insulate and seal these gaps at the same time. The key is choosing the right foam, preparing dry wood, applying the right thickness, and avoiding moisture or fire-safety mistakes.
How Should You Insulate a Rim Joist?
For most accessible basement and crawl-space rim joists, closed-cell spray foam is a strong option. Apply it to clean, dry surfaces and connect the foam to the surrounding framing so open air paths are not left around the edges.
|
Area |
What to Do |
Why It Matters |
|
Rim joist face |
Cover with continuous foam |
Slows heat transfer |
|
Joist bay edges |
Seal framing joints |
Stops air leakage |
|
Sill plate area |
Seal visible gaps |
Reduces drafts |
|
Pipe and wire gaps |
Seal approved penetrations |
Closes small leak paths |
A good job is not just about filling the center of each bay. The foam should connect the rim joist, subfloor, joists, and sill area into one continuous air-sealed layer.
Why Rim Joists Need Air Sealing and Insulation
Rim joists sit where floor framing meets the outside wall. This area has many seams and penetrations, so it can leak air. Sealing those joints can improve floor comfort and reduce unwanted airflow through a basement or crawl space.
Fiberglass alone does not stop air movement. Spray foam can create a “critical seal,” meaning the insulation also connects nearby surfaces into a continuous air barrier.
Homeowners working below grade can also consider how basement spray foam insulation fits into the larger basement insulation and moisture-control plan.
Closed-Cell or Open-Cell Foam for Rim Joists?

Closed-cell spray foam is usually the more practical choice. It provides more R-value per inch and lower vapor permeance than open-cell foam. This can help where cavity depth is limited or winter condensation is a concern.
|
Feature |
Closed-Cell Foam |
Open-Cell Foam |
Rigid Foam + Canned Foam |
|
R-value per inch |
About R-6 to R-7 |
About R-3.5 to R-4 |
Varies |
|
Air sealing |
Excellent when properly applied |
Good at proper thickness |
Good if edges are sealed |
|
Moisture control |
Stronger |
More vapor open |
Depends on board |
|
Space needed |
Less |
More |
Moderate |
|
Best fit |
Most rim-joist projects |
Selected assemblies |
Budget DIY work |
Before buying material, compare the expected closed-cell foam R-value with the R-value you want from the finished rim joist.
A closed-cell spray foam kit can combine insulation and air sealing in one application while requiring less cavity depth than lower-R-value materials.
Open-cell foam is not automatically wrong. Colder climates and moisture-sensitive assemblies may need extra vapor control. Climate, exterior wall layers, local code, and product testing should guide the final choice.
Check for Moisture Before You Spray
Do not cover wet or damaged wood. Check the rim joist, sill plate, and nearby foundation for stains, mold, soft wood, plumbing leaks, or outside water entry. Fix the source first and let the framing dry.
Older homes may not have a capillary break between concrete and the sill plate. This layer limits moisture movement from concrete into wood. If the sill stays damp or shows decay, have the assembly checked before covering it with low-permeance foam.
For crawl spaces, insulation works best when drainage, ground moisture, and humidity are also controlled. Proper crawl space spray foam should be part of that larger moisture plan.
What You Need Before Starting
Two-component spray polyurethane foam can create vapors and aerosols during application. Plan ventilation before spraying and use the protective equipment required by the product label and safety data sheet.
-
Closed-cell spray foam sized for the job
-
Required respiratory, eye, skin, and hand protection
-
Plastic sheeting or drop cloths
-
Brush, scraper, or vacuum
-
Tape measure and marker
-
Approved sealant for restricted penetrations
A DIY spray foam kit can simplify material planning, but follow its temperature range, ventilation rules, application limits, and re-entry guidance.
If you cannot control ventilation or use the required protective equipment correctly, hiring a trained installer is the safer choice.
How to Insulate Rim Joists With Spray Foam
1. Inspect Every Joist Bay
Check the full basement or crawl-space perimeter. Look for damp wood, pests, old insulation, wiring, pipes, ducts, vents, and combustion equipment. Remove loose insulation so the rim joist and framing joints are visible.
Do not spray over active leaks, damaged wiring, hot flues, or locations the foam manufacturer restricts. Some penetrations require high-temperature or fire-rated materials instead.
2. Clean and Dry the Surface
Remove dust, loose debris, oil, and anything else that can reduce foam adhesion. Make sure the wood is dry and within the product’s approved application temperature range before spraying.
Careful preparation is an important part of a reliable DIY spray foam process. Skipping this step can cause poor bonding, thin spots, or wasted material.
3. Protect and Ventilate the Work Area
Cover floors, finished walls, windows, and nearby equipment. Keep unprotected people and pets outside the work area during spraying and for the manufacturer’s stated re-entry period.
Vent exhaust outdoors to a safe location. Do not allow spray vapors or aerosols to move into other rooms or travel through the HVAC system.
4. Seal the Perimeter First
Start where the rim joist meets the subfloor, floor joists, and sill area. This is sometimes called picture-frame sealing because you first create a sealed border around the joist bay.
This step closes the major air paths before you build thickness across the center. Use controlled passes and follow the manufacturer’s limits for pass thickness and cooling time.
5. Build the Required Foam Thickness
Fill the main rim-joist surface to the thickness needed for your insulation target and product requirements. Keep the layer continuous around corners, pipes, wires, and irregular framing.
The correct closed-cell foam depth depends on your R-value goal, vapor-control needs, product limits, and local code. More foam is not always better.
6. Inspect the Foam After Curing
After the foam cures according to its instructions, check every bay with a bright light. Look for missed edges, exposed gaps, pull-away, thin areas, or spaces hidden behind pipes and wires.
Correct defects according to the product instructions. Even one small opening can remain an air-leak path when most of the rim joist looks properly covered.
How Thick Should Spray Foam Be on Rim Joists?

There is no single thickness that works for every home. Closed-cell spray foam commonly provides about R-6 to R-7 per inch, but actual R-value, air-barrier thickness, and approved application depth vary by product.
|
Goal |
Planning Point |
What to Verify |
|
Air sealing |
Keep the foam continuous |
Product air-barrier rating |
|
Higher R-value |
Add approved thickness in passes |
R-value per inch |
|
Vapor control |
Closed-cell may qualify at set thickness |
Permeance data |
|
Exposed foam |
Rim-joist exceptions may apply |
Local code and product listing |
The 2021 International Residential Code includes an exception for certain spray foam installed in perimeter joist spaces without the usual thermal barrier. It limits qualifying foam to 3¼ inches and includes density, flame-spread, and smoke-developed requirements.
Local jurisdictions may use different code editions or amendments, so always check the requirements where the home is located.
Vapor control also depends on foam thickness and product testing. Understanding spray foam vapor barriers helps explain why some closed-cell installations may not need a separate vapor-retarder layer.
How Much Spray Foam Do You Need?
Spray foam kits are commonly measured in board feet. One board foot covers one square foot at one inch thick.
For example, 100 square feet of rim-joist surface sprayed two inches thick requires about 200 board feet before allowing for waste.
Measure the width and height of each rim-joist area, add the areas together, and multiply by the planned thickness in inches.
Allow extra material for irregular framing, penetrations, and normal application waste. Do not order from basement perimeter length alone because joist depth and foam thickness affect the total amount required.
Common Rim-Joist Spray Foam Mistakes
Most poor results come from weak preparation or incomplete air sealing. Treat the rim joist as part of the home’s building enclosure, not simply as a cavity that needs to be filled.
-
Spraying over wet or rotted wood
-
Leaving gaps around joist-bay edges
-
Applying passes thicker than allowed
-
Spraying too close to hot flues
-
Ignoring PPE or ventilation requirements
-
Assuming exposed foam always meets code
Homeowners new to two-component foam can review these DIY foam project basics before deciding whether self-installation is a good fit.
DIY or Hire a Professional?

DIY can make sense when the basement is open, joists are easy to reach, the framing is dry, and the project is small enough to manage safely.
Professional installation is a better fit when access is tight, moisture damage exists, or a large area needs even and consistent application.
Professional help also makes sense around combustion appliances, complex wiring, older framing, or uncertain building-code requirements. These conditions can turn a simple insulation project into a moisture, fire-safety, or building-performance issue.
FAQs
Is spray foam good for rim joists?
Yes. Spray foam can insulate and air-seal rim joists in one step. Closed-cell foam is commonly used because it provides a high R-value per inch and stronger vapor resistance than open-cell foam.
Should I remove fiberglass before spraying rim joists?
Usually, yes. Removing fiberglass gives you access to the wood and framing joints that need inspection and air sealing. It can also reveal hidden moisture, mold, pests, or damaged wood.
Can spray foam cause rim joists to rot?
Spray foam does not correct an existing moisture problem. If wet wood, leaks, or foundation moisture remain in the assembly, decay can continue. Find and correct moisture sources before applying foam.
Do rim joists need a vapor barrier?
Not always. Closed-cell foam can act as a vapor retarder at certain tested thicknesses. Climate, wall design, foam thickness, product specifications, and local building code determine whether additional vapor control is needed.
Can I use a DIY spray foam kit on rim joists?
Yes, when the product is approved for the application and you can meet its ventilation, temperature, PPE, application, and re-entry requirements. Difficult access, moisture damage, or complex mechanical areas are better handled by a professional.